Nervous about being in front of the camera? We got you covered!
Master the art of presenting on camera with these top 5 tips! Whether you’re a faculty member or staff, this video is a must-watch before stepping in front of the lens. Enhance your presentation skills, engage your audience, and leave a lasting impression. Don’t miss out on these invaluable insights!
I started working in the Online Learning Center at the beginning of the spring semester during my sophomore year at Pace. I wanted to work here because it fell under the umbrella of my major, Film and Screen Studies, along with my minor, Digital Media Studies, because it involves filming, creating digital media for informational purposes, and editing videos or content optimized for faculty and promoting the OLC.
Working here allowed me to expand my knowledge in all areas of production: pre-production, live production, and post production. I learned how to properly prepare and setup for shoots by creating a checklist, a shot-list, and going through a few rehearsals before I hear the word “rolling.” I even learned the basics and fundamentals of the TriCaster which is like the systems that the News and Talk Shows use when recording. During live-production, I learned how to transition smoothly and wait for proper cue signals and body language when recording someone live. I also learned how to maneuver with the controls and set up a shoot in the system with its proper content and added graphics and animations. There is not as much post-production involved as there is pre and live, but when there is, I mainly use Adobe Premiere Pro to edit and export Ads made to display outside of the OLC. We have made a few Ads the past few months, some being strictly digital and some where we had our finest actors of the OLC,showcase in front of the camera, what goes on when preparing for a shoot!
When the studio is not occupied, myself and other OLC staff do our best to improve the studio such as recording tutorials for future faculty. For example, I would spend time learning and mastering how to use the green screen on three different applications; Zoom, iMovie, and OBS, and then made personalized tutorials for when faculty may need a hand. I recorded three different tutorials for each application going step by step and featured it on the OLC blog where faculty can easily access it if in need of help. There are many transferable skills that I have learned while working at the OLC and cannot wait for what more is to come next semester in the fall!
At the OLC, I love to create new ads with fun graphics and texts using the graphic design software known as Canva. I learned about Canva back in January making social media digital promotional videos for the company Boosted, where I have an internship.
With Canva, I learned that you can make all different kinds of graphics, thumbnails, advertisements, instagram posts, and even presentations. Its variety of options range from making a corporate professional ad all the way to calm or silly videos. It’s even great for creating professional backgrounds for green screen users.
I was lucky to have access to the pro version, and I’ve used it to make advertisements for the OLC, videos for social media, as well as fun animated titles (and intertitle) cards.
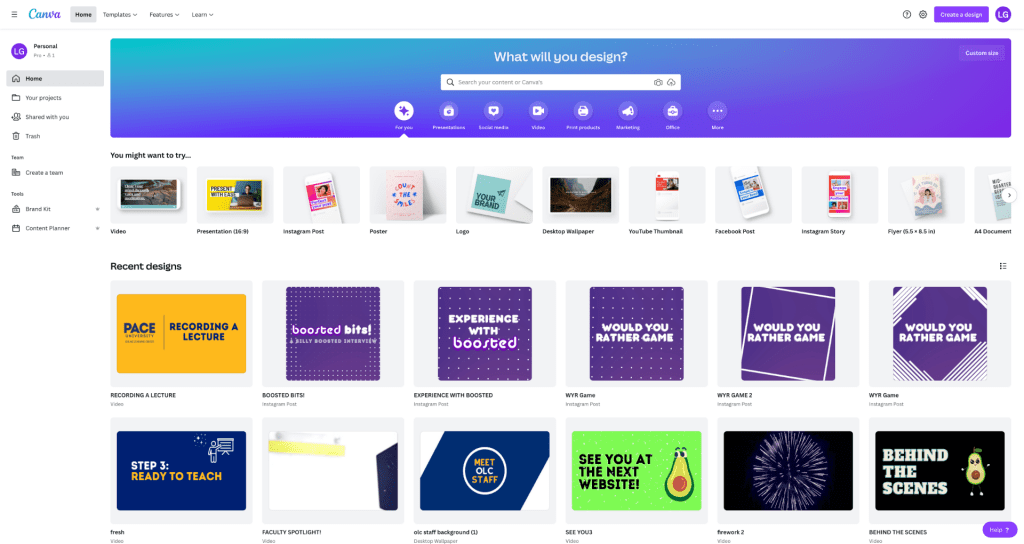
My Canva homepage!
Canva has the ability to let me pick and choose what kind of format I would like, whether it be an ad, a background, or an instagram post, and will let me adjust the size of it. Then:
– Under the templates tab is where I search for a themed template, or I can create one on my own.
– Under the elements tab, I can pull fun animated or standstill graphics and can choose from a variety of graphic options.
– Under the Uploads tab, is where I can upload any media of my own that I would like to use such as images and videos.
– Under the audio tab is where I can upload any music of my choice and incorporate it into the video anywhere of my liking.
– Under the Logo tab, is where I can upload any company logos and add animations to them if I wanted.
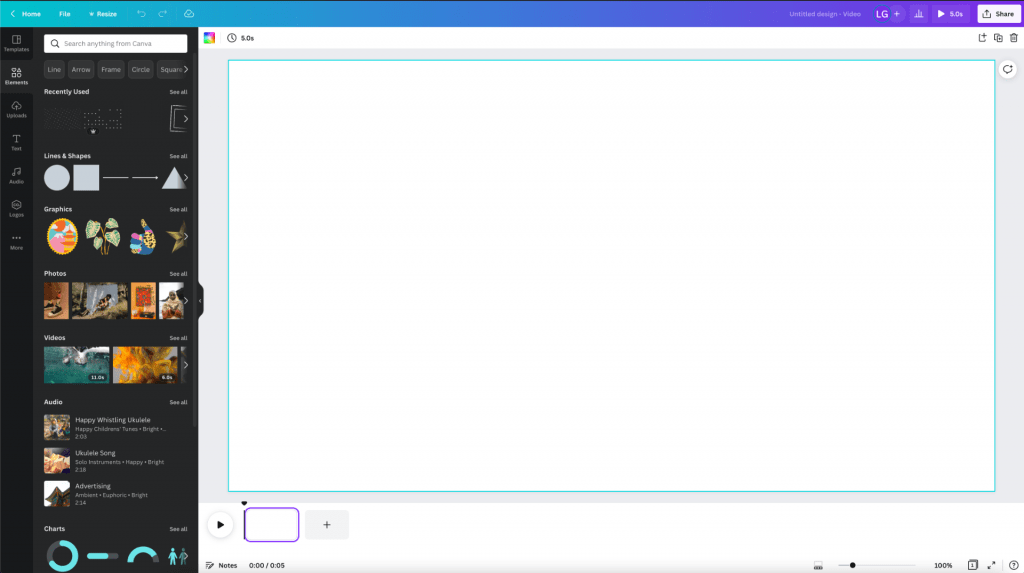
A Canva canvas, with stock animations on the left.
If this software sounds helpful, I highly recommend it! You can try it for free, as Pace does not currently have a subscription. It has definitely come in handy for whenever I needed any easy way to create and animate animations, advertisements, and fun videos.
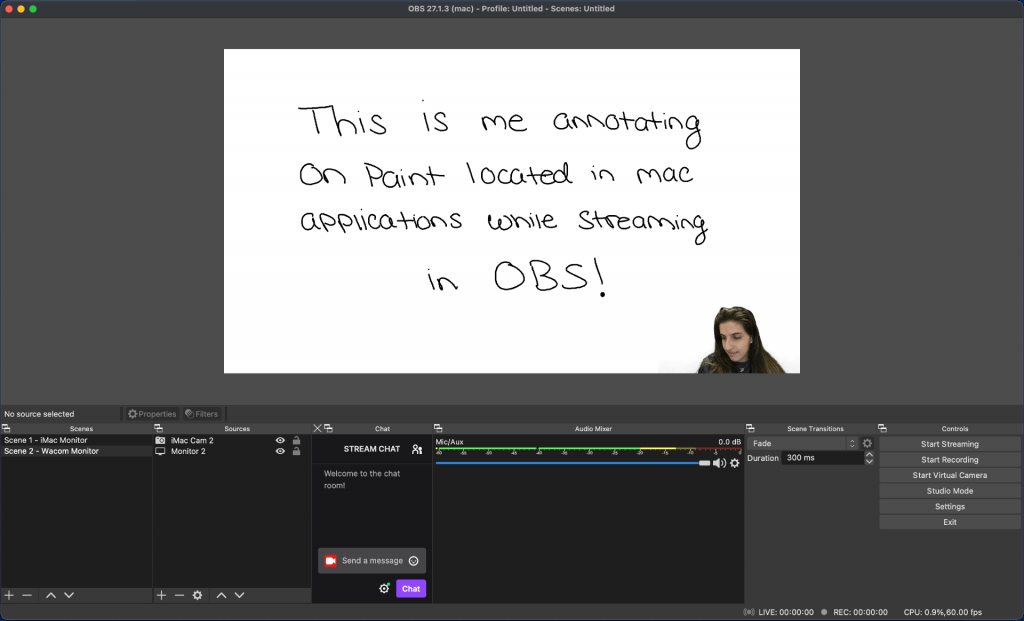
Do you ever want to write, draw, or annotate text on screen during a live recording? The OLC has a Wacom One Pen Tablet that can allow you to record your drawings and annotations clearly for students to see. The image below is an example of recording in OBS while using the green screen, using the Wacom tablet to write in a painting app.
Screenshot from annotation video
To record the Wacom, the OBS is set up as in the screenshot below. Make sure you have your green screen setup and your Chroma Key and Color correction Key already setup. Also, it is important to have the paint app open and displaying on the Wacom monitor before you record (or broadcast) it. Proceed to add in your Display Capture effect and select the Wacom Monitor. Once this is activated, layer your iMac Cam 2 and Monitor 2 accordingly, and you will have successfully setup to stream and annotate in OBS!
SS of OBS setup
The Wacom Tablet is a mini iPad-like device normally used for drawing/graphic design purposes on softwares such as Paint and Photoshop. Below is an example of a professor using the Wacom Tablet to write and show examples of math problems while streaming it to his students, making it easier and clear for them to see.
The Online Learning Center is currently collaborating on a project that hops on the trend “A Day in The Life of a College Student” where the subject, aka the student, showcases what a typical day looks like in their college life. This post features two examples of what these videos often look and sound like.
In day-in-the-life videos, students usually walk through the process of their morning routine in their dorm room, getting food, going to class, their activities between classes, and finish off with their night time routine. In our case it will be “A Day in The Life as a Virtual College Student.” The plan is to shoot a 2-3 minute video showcasing what a student’s life looks like taking online courses and how it affects their routine. After shooting the clips needed for this video, the plan is to cut and edit using quick jump cuts, just like the Tik-Tok trend, for comedic effects along with keeping the audience engaged. The goal for the video is to be realistic, fun, engaging, and most importantly, informative.
The video below is filled with aesthetically creative shots, lots of movement, smooth angles and transitions, and most importantly, the subject focuses on action content rather than talking to the camera for three minutes straight. This video also includes nice background music to keep the consistency going. The only thing missing is quick jump cuts, but this video is a longer-format vlog rather than a TikTok video.
This video below is fast-paced and the way it is edited along with the dialogue and effects definitely keeps the viewer engaged. It has a lot of comedic effects throughout such as the colorful collage of clips when transitioning, the voiceovers used when doing a specific activity, and the pacing of it. This video does feature some TikTok-style jump cuts, and for a YouTube video it definitely has quick pacing and stays consistent throughout the whole video. The sound effects and music were also a big plus in this video.