We are asking speakers to record their speeches for broadcast during the Pace Online graduation event on May 16th. Here are the details you need:
Please record your speech in Zoom with our background (link below). Please review these Zoom settings before you hit record:
– Video > select “HD”
– Background & Filters > add and select the background file (download here)
– Recording > use “Local Recording” so you can easily upload the file to our Dropbox or Google Drive (paceolc@gmail.com).
Here are a few more items to consider before you record:
– Lighting: If you have a ring light or desk lamp, use it in addition to other room lighting. Face toward a window, if you can, but definitely don’t turn your back to one!
– Sound: Try your best to eliminate background noise.
– Framing: To eliminate distortion, your camera should be at the same height as your nose. If you have a laptop, try resting it on a box.
– Edits: No editing necessary! We will broadcast your speech as if you are delivering it live. However, Pace staff will trim the beginning and end of your file. Don’t worry about an awkward start or finish!
– Questions? Or would you like remote assistance? Reach out to Pace staff at OLC@pace.edu. We’re happy to help!
This is an example of what your video will look like.
Delivery
When you have finished your recording, please share your file with the Pace Online team with either Google Drive (paceolc@gmail.com) or Dropbox (paceolc@gmail.com). Thank you!
Please reach out to Online Learning Center staff at OLC@pace.edu if you have any questions. Good luck!
Podcasting is becoming an increasingly popular way for people to express themselves and share their ideas with a wider audience. In order to produce a high-quality podcast, it is important to have the right tools at your disposal. One of the most important tools for podcasting is audio editing software, and Audacity is one of the most popular choices for both novice and professional podcasters.
Audacity is a free and open-source audio editing software that is available for Windows, Mac, and Linux operating systems. It is a powerful tool that can be used for recording, editing, and mixing audio files. In this blog post, we will explore the basics of podcasting using Audacity.
Recording
Before you start recording your podcast, it is important to make sure that you have the right equipment. You will need a microphone, headphones, and a quiet room to record. Once you have everything set up, you can start recording.
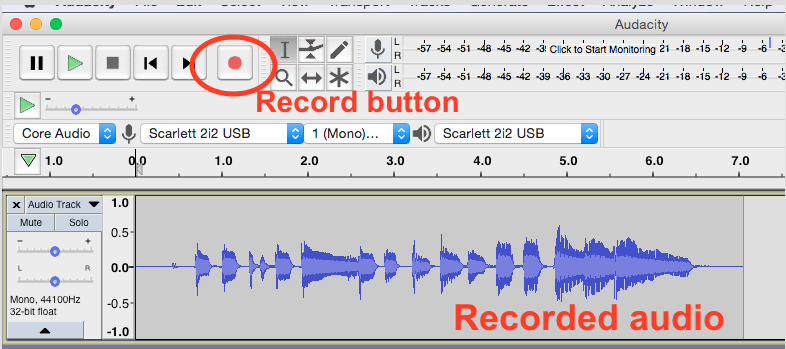
To start recording in Audacity, click the red “Record” button. Make sure that your microphone is properly connected and that you are speaking into it clearly. You can monitor the recording levels by looking at the “Input Level Meter” at the top of the screen. If the levels are too high, you can adjust the input volume to avoid distortion.
Once you have finished recording, click on the “Stop” button. Audacity will automatically save the recording as an audio file.
Editing
Now that you have your recording, it is time to edit it. Editing is an important step in the podcasting process because it allows you to remove any mistakes or unwanted noise from the recording.
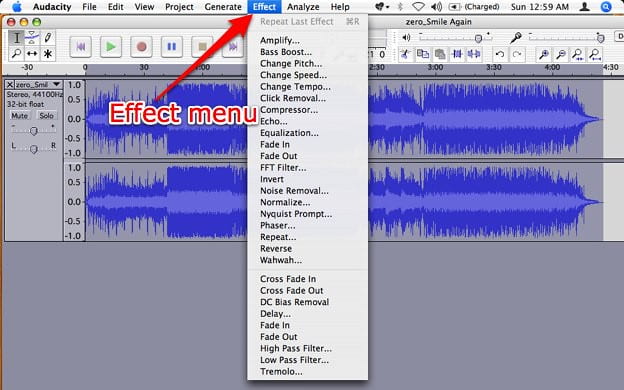
In Audacity, you can use the selection tool to highlight the part of the recording that you want to edit. You can then cut, copy, or paste the selection as needed. You can also use the “Effect” menu to apply various effects to the recording, such as noise reduction, equalization, and compression.
Exporting
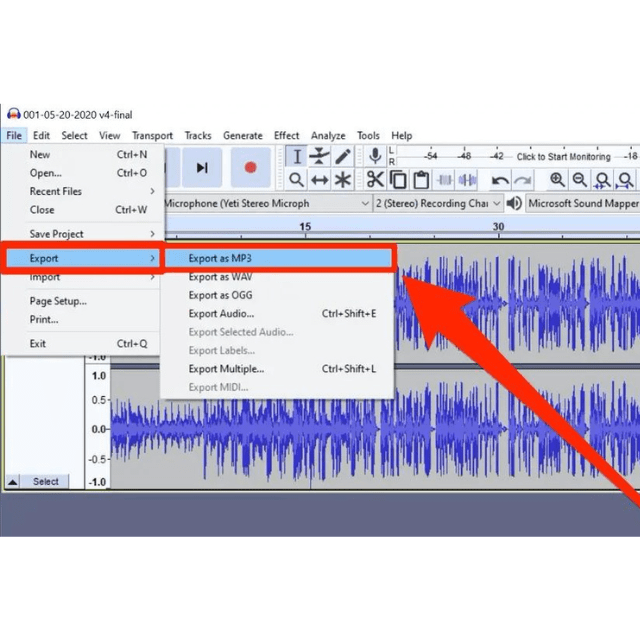
Once you have finished editing your recording, it is time to export it as a final audio file. To do this, click on the “Export” button and choose the format you want to save the file in. MP3 is the most popular format for podcasting because it is widely supported by podcast hosting platforms.
Conclusion
Audacity is a powerful and easy-to-use tool for podcasting. Whether you are just starting out or you are a seasoned podcaster, Audacity has everything you need to create high-quality podcasts. With its intuitive interface and wide range of features, Audacity is the perfect choice for anyone looking to produce professional-level podcasts.
I often waste my time scrolling my project timeline while editing my videos.
Let me share some quick tips and tricks for staying organized while video editing.
1. Choose the best software:
The first step toward enhancing your video editing process is to pick the best software for you and your work. They usually include everything you need to make standard video edits, but you may prefer one over another due to its usability, digital interface, and features. The key here is to select what works best for you and your editing style rather than the most advanced video editing program available.
2. Follow the 3-2-1 Rule:
Video editors using any program should obey the 3-2-1 rule. Keep three copies of everything you create in at least two different locations, one of which is physically separated from the others.
3. Edit for a story:
Go beyond the basics of removing unnecessary footage and rearranging clips to make your film aesthetically pleasing and dramatically compelling in order to generate the appropriate emotions and effectively convey your intended message. Instead of just adding a bunch of effects to impress your viewers, use your practical and technical knowledge to accomplish this.
4. Managing an efficient work flow:
Organizing your projects and files in folders that you can reuse is one way to improve your workflow. Make a home for your projects, footage, audio files, images, and graphics, and add more subsections and folders as needed.
5. Use keyboard shortcuts:
Speaking of buttons, keep in mind that most editing programs allow you to perform a variety of in-app editing functions using keyboard shortcuts.
6. Color correct your clip:
Most editors do two things: color correction (to ensure that your footage’s colors are consistent in each scene) and color grading (to give your film a different look). Both are required if you want the majority of your scenes to look as realistic as possible, or if you want to distinguish certain scenes from others, such as when using presets like sepia and monochrome on “flashback” scenes.
7. Add texts and graphics:
Adding text and graphics to a video can help to improve its overall appearance and draw attention to important information. Texts and graphics can help to convey a message, set the tone, or add context. They can also be used to emphasize critical things, introduce new topics, or provide useful visual aids. Text and graphics can also help to make a video more engaging and entertaining.
So, you’re making an instructional video, and you want to make it more visually interesting. A great way to add information and visual appeal to your video starts with using a green screen. In this post, I walk through a couple different ways to think about using one.
Creating Compositions
A great way to approach any instructional video is by thinking about the ways a student may watch and re-watch a video. How big will their screen be? Will they be on a laptop or a phone? Will they be willing to spend 20 straight minutes watching your video, or will they watch it 5 minutes at a time?
Like a traditional movie or show, instructional video should be clear and compelling. Even with lower production values (e.g., fewer explosions, chase scenes, or comedic mishaps), a lecture can be exciting when delivered with enthusiasm. But no amount of enthusiasm will help if the details are confusing.
Consider the design elements that impact your communication, and create a visual composition that orients your audience to your message.
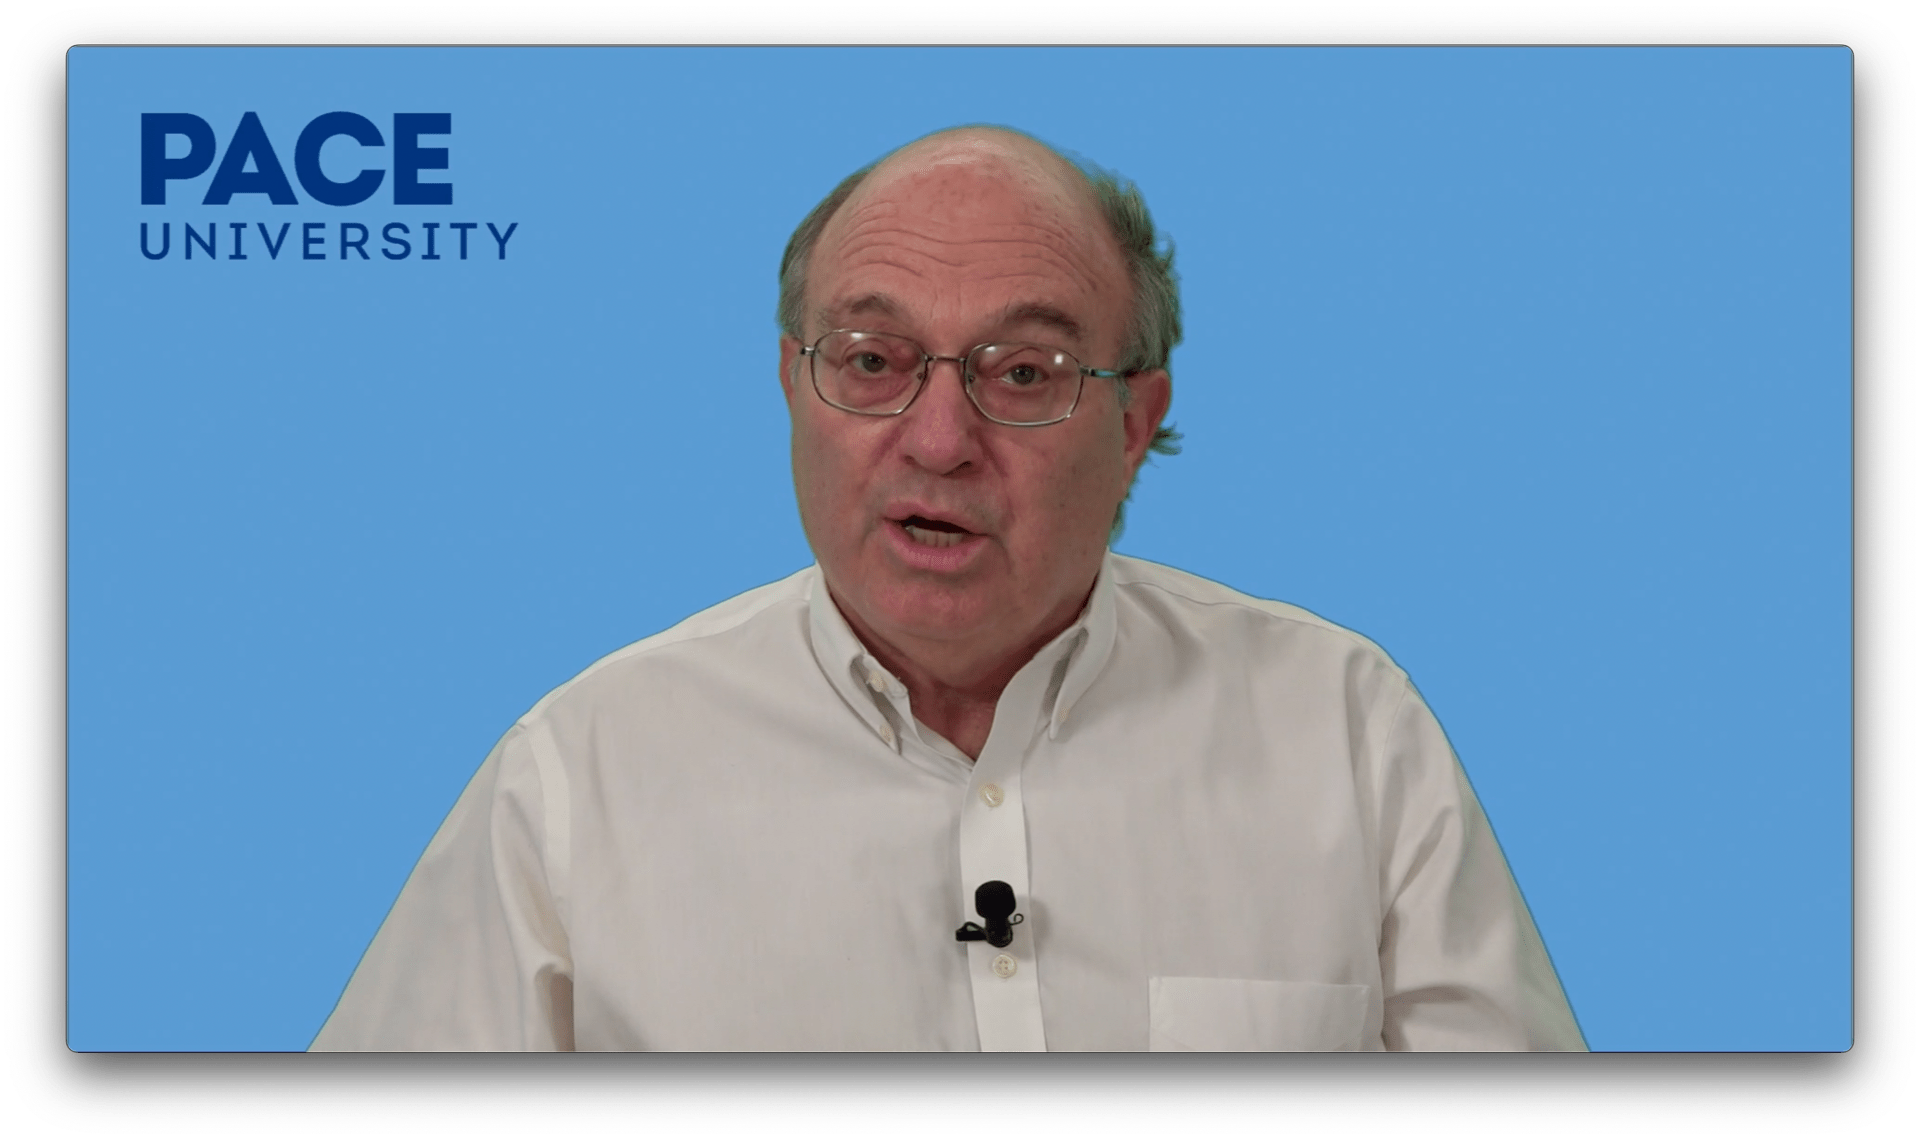
Pace Professor David Dorfman discusses the work of paralegals. In this video, the composition includes a simple (blue) background, the Pace logo, presentation slides, and the speaker.
Take-aways:
• Branding and titling your content reinforces the purpose and intention of a student’s learning goals. While it may seem boring, it does more work than you think!
• Presentation slides should be clear. If you are putting content on your slide, take time to address it. If your slides are wordy, unpack them.
• Page numbers are less important for videos, as you may refer to video timecode later on. But if you want students to refer back to the presentation, – especially if it’s longer than 5 minutes – use page numbers.
Once you’ve established this “master” composition, you can certainly switch to other “scenes” (e.g., presentation-only, speaker-only, or related media). But while editing with cuts can help hold a viewer’s attention, it can be disorienting. I suggest using cuts much more judiciously with instructional video, if at all.
No cuts!? Just one long video?? While it seems counterintuitive to what we often hear about video (i.e, “make it shorter” “no one watches onion video for very long”), students have many tools to watch a long video in a way that works for them. For example, some students may change the playback speed to better match their needs, or have turned on closed captioning. Other students might watch your video a few minutes at a time, and bookmark points to come back to later. These software-driven playback options mean that a simple, great composition can be the best creative option.
Plates and Lighting Effects
Another approach to using a green screen is by using a meaningful background. While one-color backgrounds are easy, they can also be unmemorable. What background sets the scene for your topic? What background would be more memorable or meaningful to your students?
This approach takes a little more planning. Creating a background for a “keyed” shot (i.e., a shot with the green screen successfully removed with software) offers a lot of creative flexibility. In addition to a high-quality image, you want to create a background that works well for your composition. But pay attention to your lighting! Importantly, you will need to light the speaker in the studio in a way that approximates the look of the plate (in this context, the background image is called a “plate”).
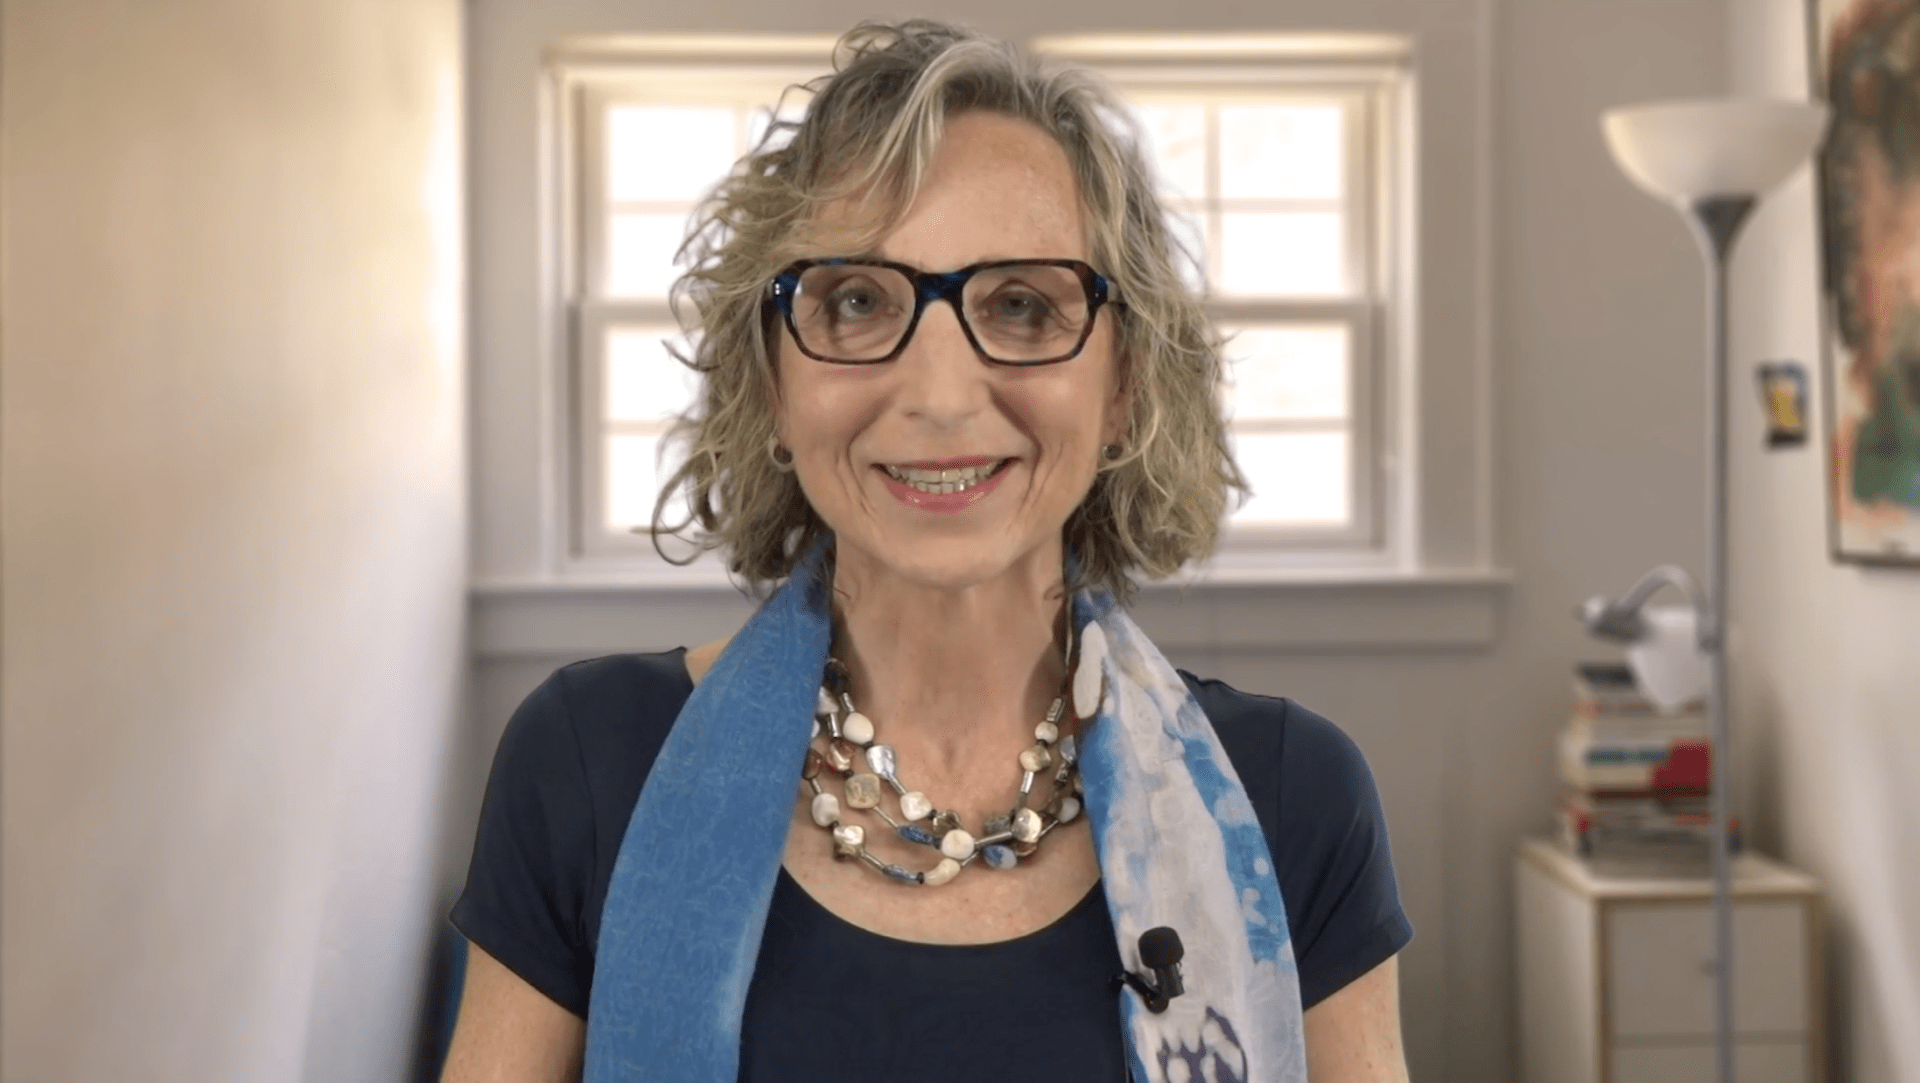
Pace Professor Sophie Kaufman created a series of videos on mindfulness. While it was more convenient to shoot her script in the OLC studio, she wanted the video to look like it was shot in her home studio. She used her iPhone to take multiple photographs of her space with different lighting, and OLC staff selected and manipulated an image to create this plate.
Proper lighting in the studio will give you the image you need to composite your plate with your speaker video in postproduction. While it requires some tweaking (and attention to detail), the process is fairly easy to learn and execute.
Whether you’re teaching a course for the first time or the twentieth, it’s a great idea to create fresh videos that support your learning goals. And with the support of the Online Learning Center, it’s easy!
Short videos keep students engaged, both online and in person. Here are some common approaches to creating video for courses:
• Introducing topics
• Capturing multimedia presentations
• Live demonstrations (with a screen, whiteboard, or software)
• Editing existing videos
Professor Cohen introduces a chapter on international management for his Summer 2022 course.
An example of our work: OLC staff worked with Professor Marty Cohen to create 15 short videos (5-10 minutes each) for his asynchronous summer course. To accomplish this, Professor Cohen prepared by creating notes on each “chapter” module of his course, and spoke extemporaneously to introduce each chapter in an informal and engaging way. In total, recording these videos took 3 hours in the studio, and then the files were uploaded to his course.
Ready to plan your project? Book studio time or request a studio tour by emailing OLC staff at olc@pace.edu. Use our online calendar to check availability for upcoming dates.
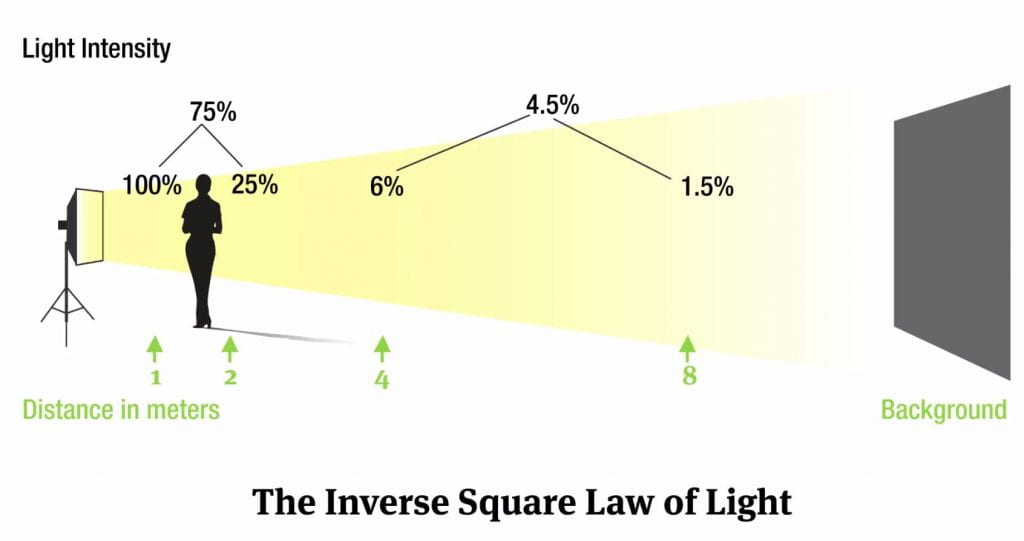
When the subject of a video is poorly lit for the camera, resolution and color is lost. In general, more light is better (low lighting can be great, but the camera has to be up to the task!). We’re always working against the inverse square law of light, so keep this in mind when calculating the power and placement of your lighting.
Source: Unknown.
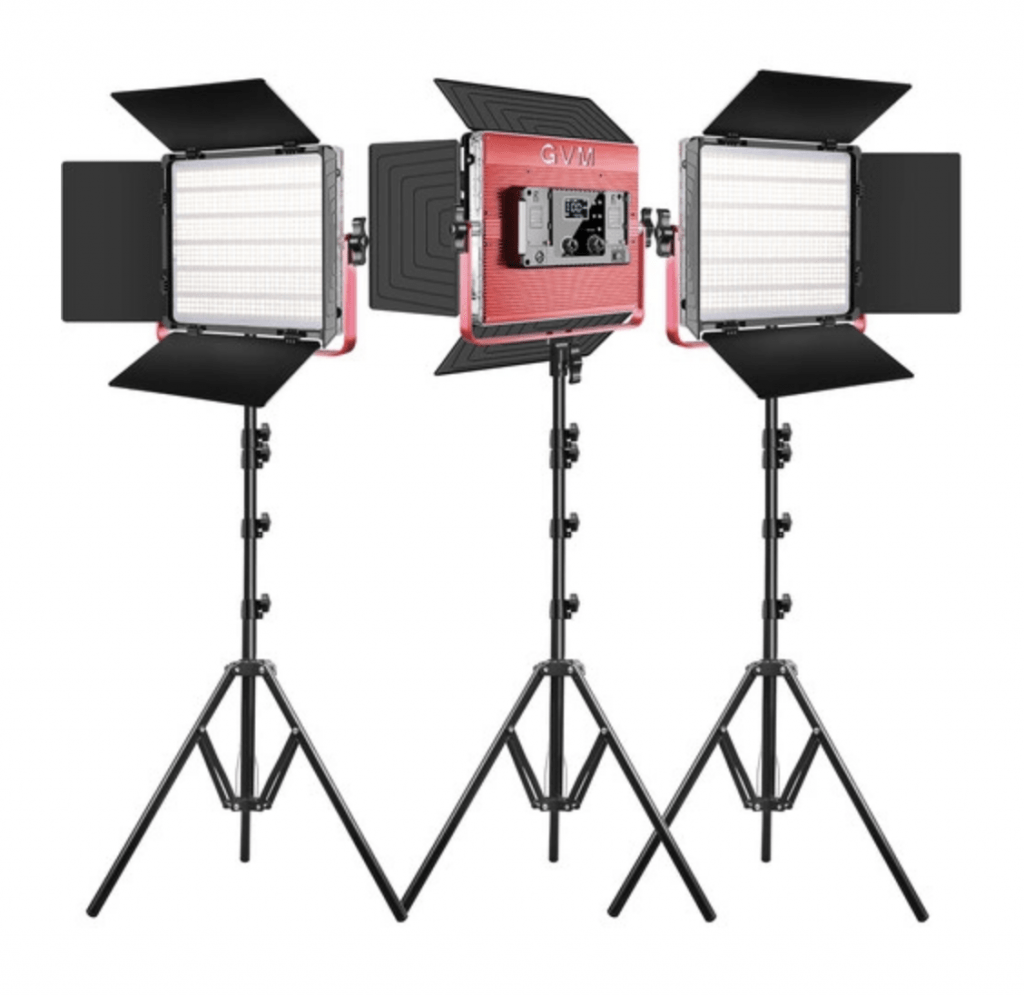
To better light our subjects and sets, we’ve acquired a new set of lights:
Our new GVM LED “Bi-Color Soft 1200D” studio lighting.


