Podcasting in Your Courses: Tips for Assigning, Assessing, and Producing Podcasts

Vi

Video: OLC Faculty Workshop on “Assigning, Creating, and Assessing Podcasting in Courses” hosted by the Brian Hughes and Joe Seijo on Monday, October 27, 2025.

Podcasting can be a great hands-on learning opportunity, and courses benefit from creative and engaging activities. In this webinar, we explored several use cases for podcasting, which can add multimodal and hands-on learning to any course. Use or modify our production guides and rubrics for use in your courses:

Podcasting (Production Ideas) (a student handout)

Producing Rubric

Listening Rubric

Transcription

Your students submitted 10+ hours of podcasts… now what!?! Transcription. There are several options available for students and faculty to create transcriptions from audio files. The main options are Panopto and YouTube, depending on preference. In both applications, it is the text file used in Closed Captioning that provides the owner with a timecode text file.

In Panopto, after uploading you audio file (and waiting a minute or two for the system to process it), go to Settings > Captions > Available Captions > English to download a .txt file.

In YouTube, after uploading you audio file (and waiting a minute or two for the system to process it), go to YouTube Studio > Content > (click the Edit icon on a video) > Language > (click the Edit button by English) > select “Download .srt” under the “Automatic subtitles” menu.

Student Facilities

The OLC is for Pace faculty and staff. But students have access to multimedia facilities on both NYC and PLV campuses:

In NYC, the CMS Podcast Lab (512 Park Row) has several podcasting workstations available to all Pace students. Find the sign-up calendar here.

In Pleasantville, the Media and Communication Arts Department makes a podcast recording facility available to students. Learn how to book the studio here.

On both campuses, ITS computer labs with Macs have Adobe CC applications including Audition, Adobe’s professional audio editing application. This may be useful for more advanced students, or students looking to take editing seriously!

Production Tip of the month: You can do a lot with a great audio recording. Try recording your lecture first, then adding graphics afterwards.

Please contact OLC staff to reserve studio time or collaborate with us.

Video Resume & Resources

What is a video resume ?
A video resume is a short video where students can introduce themselves to a hiring manager or recruiter. It usually goes along with a traditional resume and cover letter. This format allows students to highlight specific skills or experiences that make them perfect for the role. It’s also a great way for them to show their creativity and personality, fitting in with the company’s culture. A good video resume should be between 30 seconds and two minutes long. 

Here are few examples to consider as good Video Resumes :

https://www.youtube.com/watch?v=d-pHWe1S-KQ

https://www.youtube.com/watch?v=Nv6mDeFPT2M

https://www.youtube.com/watch?v=gyFaBZ_BQhc


Why is a Video Resume needed?
A video resume offers a dynamic way to enhance student’s job application by allowing them to showcase their personality, creativity, and specific skills that might not be as evident in a traditional resume. It provides a unique opportunity to make a strong first impression and stand out from the competition, especially in creative and communication-heavy fields. By visually demonstrating your abilities and enthusiasm, a video resume can effectively highlight why students are an ideal fit for a role, making their application more memorable and impactful to potential employers.

How to make video resume?

Creating a video resume is quite different from designing a traditional resume or writing a cover letter. It involves a mix of preparation and technical skills, like visual storytelling and editing. Here’s a step-by-step guide to help you craft a compelling video resume:

1.⁠ ⁠Write a Script

Start by planning your video. Decide whether you want to speak directly to the camera or include action shots showcasing your skills. If you choose to incorporate action, outline each segment to maintain a logical flow.

Next, consider what you want to say. If you prefer a conversational tone, jot down bullet points highlighting your key skills, experiences, and qualifications. If you aim for a polished delivery, script your speech word for word. Use strong action verbs to make your points more impactful, just as you would in a traditional resume.

Check this example here : https://www.youtube.com/watch?v=eSs68R4zhLI&t=912s
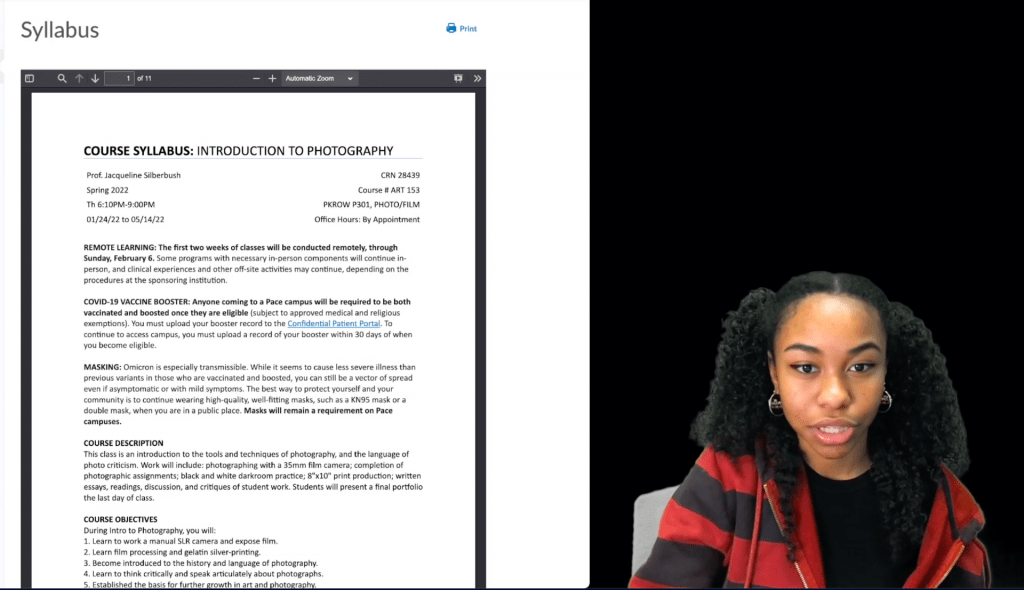
2.⁠ ⁠Prepare a Filming Space

Set up a space with a neutral background and good lighting for any segments where you’ll be speaking to the camera. Props can add context, but ensure they don’t distract from you. For action shots, make sure your space includes any necessary props and equipment, and limit the number of people in the background to keep the focus on you.
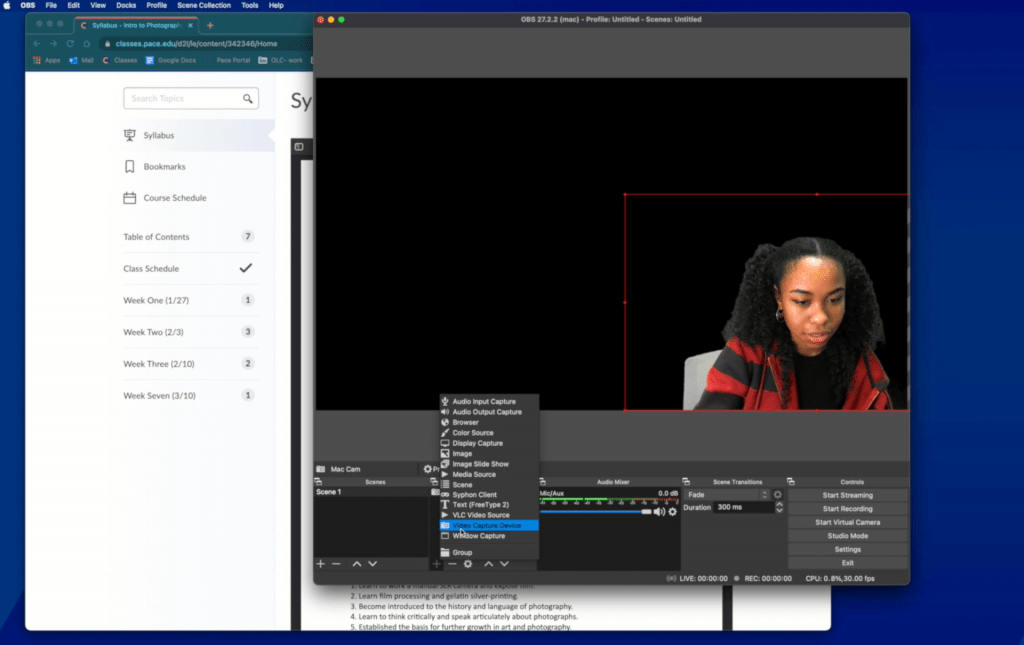
3.⁠ ⁠Set Up a Recording Device

Choose a device capable of capturing high-quality video and audio, like a smartphone, tablet, computer, or camera. Position the device at a height that frames your face and shoulders, or further back if including full-body shots. For action shots, ensure the device captures all necessary movements clearly.

4.⁠ ⁠Record Several Takes

Using your script or outline, record each segment multiple times, experimenting with different expressions and tones to find the most engaging takes. If you’re delivering a speech, consider breaking it into shorter segments to facilitate retakes. For action shots, record extended sequences to choose the best moments later, making the action appear more natural and fluid.

5.⁠ ⁠Gather Additional Visuals

Depending on your video’s content, you might include elements like informational slides, infographics, photos, or clippings. Gather these materials early in your editing process to complement your footage dynamically and engagingly.

6.⁠ ⁠Edit the Video

Review your footage and select the best takes. Using your script as a guide, begin editing to create a cohesive story. Incorporate additional visuals, such as achievements or awards, to visually support your narrative. Use video editing software or applications to cut, organize, and compile your video. Many devices come with built-in editing tools to assist you.

7.⁠ ⁠Get Feedback

Watch your final video several times to ensure clarity and organization. Share it with a friend, coworker, or mentor to get constructive feedback. Their insights can help you refine the video and leave a stronger impression.

How to edit a video resume?
There are several free software options available that can help you edit your video resume effectively. One popular choice is CapCut, which is a user-friendly video editing app available on mobile devices. It offers essential editing tools like trimming, adding text, and applying filters, making it suitable for creating polished video resumes directly on your smartphone. Another useful tool is Canva, known for its versatility in graphic design, but also offers basic video editing capabilities. Canva allows you to create and edit videos, add text, graphics, and animations to enhance your video resume with a professional touch. Both CapCut and Canva provide accessible and intuitive platforms for editing and refining your video resume to ensure it makes a strong impression on potential employers.


OBS or Zoom? Which app is better for you and why.

Think of OBS (Open Broadcaster Software) as your personal recording studio, giving you full control over how your lecture looks and sounds. With OBS, you can mix and match different video sources, like your webcam, a presentation slide, or even a video clip, just like a TV producer. You can tweak the video and audio settings to get the best quality, ensuring your lectures are clear and professional. Plus, you can record as long as you want without any restrictions or watermarks, and you don’t need an internet connection to do it.

On the other hand, Zoom is more like a ready-made tool that’s fantastic for live meetings but not as versatile for recording. It’s easy to use but doesn’t offer much room for customization or high-quality recording. You also need a good internet connection to record with Zoom, and there are often time limits and potential interruptions, especially with the free version. In a nutshell, if you want polished, high-quality lecture recordings with lots of creative freedom, OBS is your go-to choice.

Also checkout the tutorial video by our student assistant on OBS here.

Teleprompter, & how you can use it for your advantage.

A teleprompter is a device that help users to read texts on screen while recording and looking at the camera simultaneously. This not only help to maintain eye contact with the camera but also helps to keep a steady pace while recording a lecture. The Teleprompter can also help you with the entire script of notes, ensuring the lecturer speaks effortlessly and without having them to memorize or look away to check their notes. The text scrolls automatically at a very minimal speed, which helps the lecturer maintain their flow, making the lecture more engaging and professional.
  • Key benefits of Teleprompter :A) Structured Delivery : Having the entire script of notes ready helps with the overall structure of the lecture. This reduces any errors of forgetting or missing out on any key points.B) Engaging and Interactive : Teleprompter can also provide cues in between to help you insert questions and quizzes in the lecture, making it more engaging and interactive for students.

    C) Reducing errors and retakes : The Teleprompter is programmed beforehand with the entire script, which gives lecturers a very small window for error and thus reduces the need for multiple retakes.

Pace Online Learning Center is equipped with the state of the art tech and support to help you with any assistance for your online lectures. Reach out to Pace staff at OLC@pace.edu. We’re happy to help!

Meet Ankit, Student Assistant

We are excited to introduce Ankit, the latest addition to the Pace Online Studios team.

Ankit joined us in June 2024 as a student assistant. He is currently pursuing a postgraduate degree in Mobile & Social Media Marketing at the Lubin School of Business. With a strong background in creative marketing and content production, Ankit brings a deep passion for media and production to our team.

At Pace Online Studios, Ankit will be assisting with both pre-production and post-production processes, including video editing and visual graphics.
Make sure to check out Ankit’s tutorial on the new app CAPCUT, a user-friendly tool for video editing and motion graphics!

Turn Your Lectures into Videos with Canva

The Online Learning Center has been working on developing a comprehensive asynchronous masters program in Health Informatics and has made significant use of Canva to create eye-catching and informative weekly videos. Watch my tutorial for a step-by-step overview of how we do it:


The following topics are covered in the tutorial:

1. Opening Canva and getting into the presentation mode

2. How to upload images and audio files on Canva

3. How to use fonts and images in Canva

4. How to add effects and transitions on the slides

5. How to download your presentation as MP4

Here’s a link to the tutorial –

I hope you like it.

AI – The Next Big Thing for OLC

Artificial Intelligence is the new buzzword these days when it comes to the completion of any and every task.

AI has the capability to automate and optimize tasks across numerous sectors, leading to increased efficiency, reduced costs, and improved productivity. As AI algorithms and systems become more sophisticated, automation will likely become more prevalent, freeing up human resources for higher-value activities.

At the Online Learning Center, we are currently exploring various AI technologies and software in order to create high-quality and engaging videos and lectures. This prompted us to employ one of the AI systems known as ‘opus.pro.’

I wanted people to be engaged in my recent trip of hosting an hour-long podcast, so I decided to cut it down into little one-minute pieces. However, it was difficult to choose which part would be the most fascinating and valuable to the viewers. To my amazement, I came across an AI tool that allows you to upload the YouTube URL for the podcast and it will automatically provide you with the top 10 one-minute snippets. Let me demonstrate:

1. Upload the link in the box:

2. Once you’ve entered your URL, the program will provide you with 10 top one-minute possibilities, each with a score. – The score reflects how significant the subject matter was throughout the narrative – The higher the score, the greater the effect – Here, I chose a score of 99 to capture the most audience attention.

3. Once you’ve chosen your clip, you may alter the subtitles and pick different colors to highlight certain strong verbs in the video.

4. You can also edit the layout of the captions, font, and color of the text.       

Here is the final outcome

OLC Tutorial: Screencasting

Curious about recording your screen while you talk? In this tutorial, OLC staff member Drew shows how to Screencast while using OBS:

For making live recordings of your online syllabus and materials, OBS is a fantastic tool that can help both teachers and students alike!

With OBS, you can record yourself speaking and click as you show your slides/ syllabus on screen. You can then upload that footage straight into Classes.

Here I am creating “scenes” in OBS.
Here’s my recorded screencast.

Do you have any interest in screencasting? Reach out and let us know!

Skip to toolbar