• 25 hours of consultations with faculty in Dyson, Seidenberg, Health, Law, and Pace Online.
• 19 videos (272 minutes total) produced for courses (Biology, Education, Finance), programs (Health), and special events (Pace Online Graduation).
Updates and Highlights
• Brian developed the AV design and specifications of a new “Selfshot” video production station. The goal is to test possibilities for future OLC studio spaces located on the Pleasantville campus.
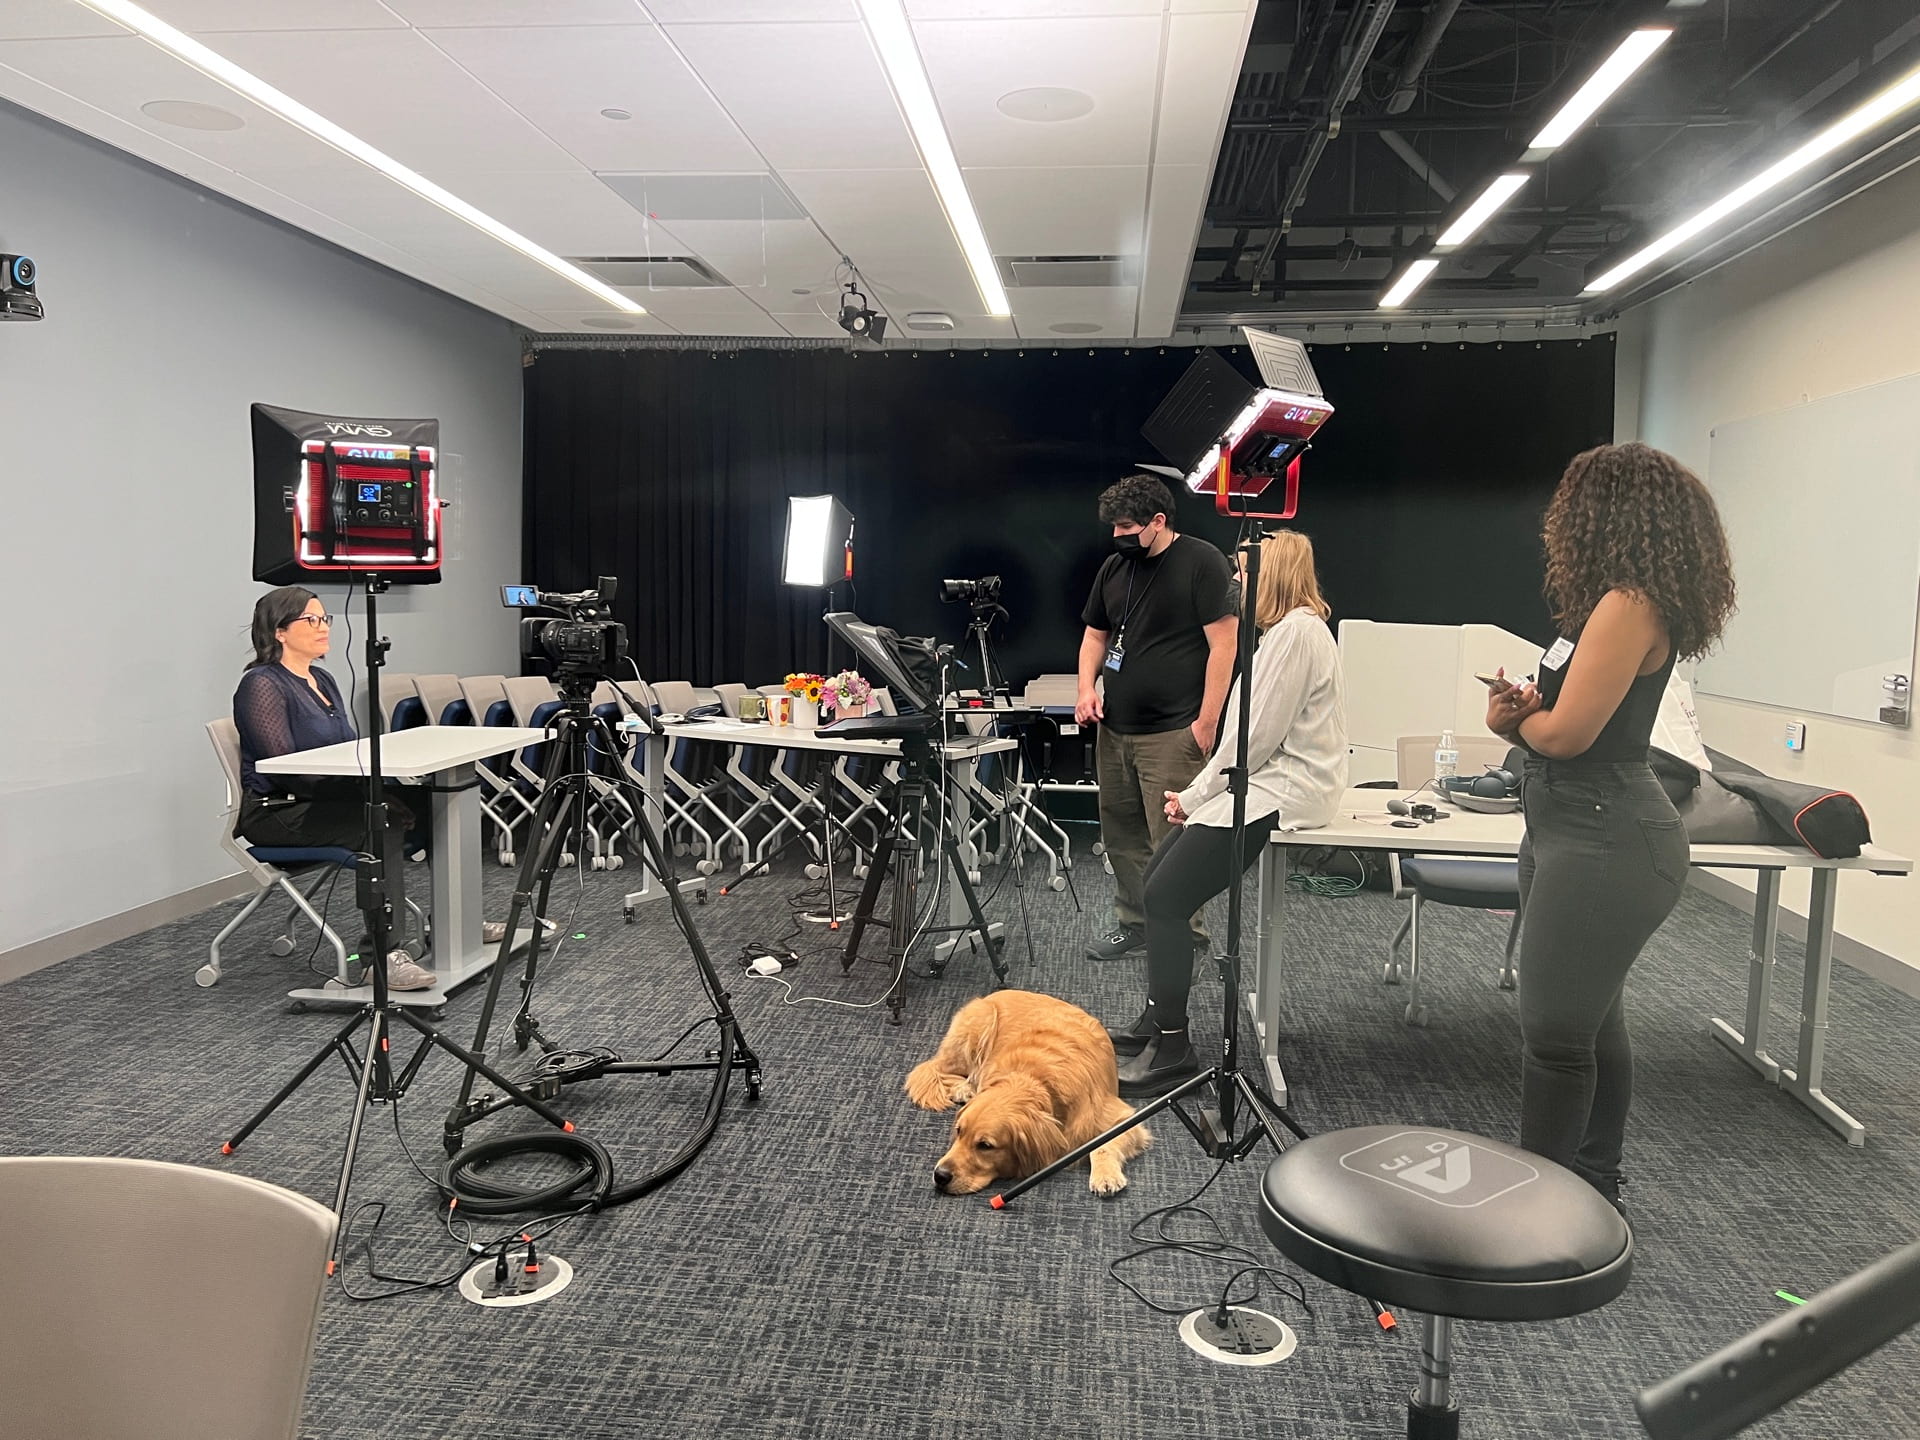
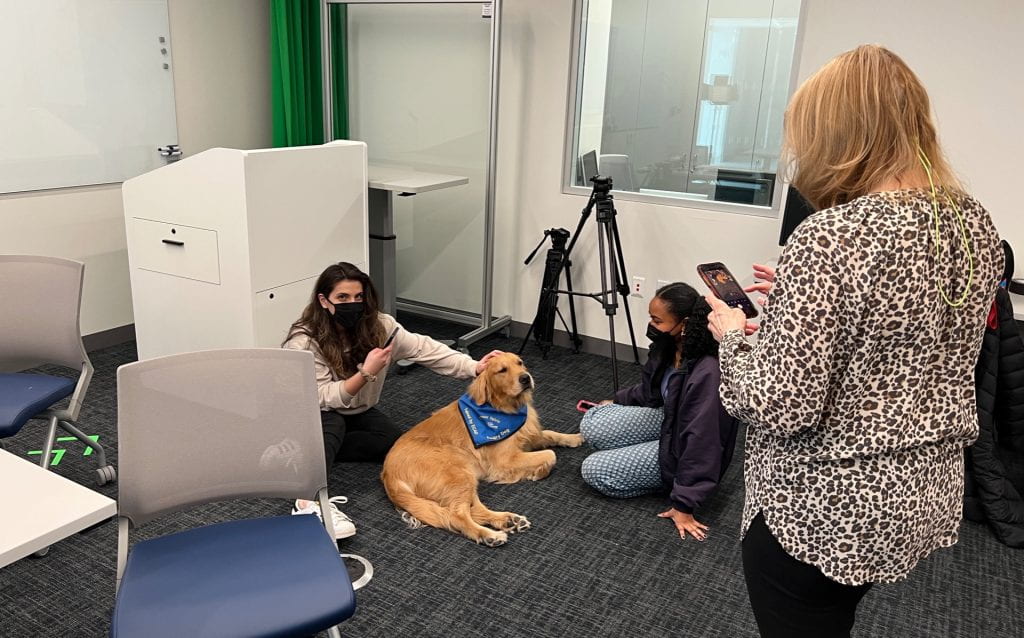
• Professor Joanne Singleton and her team from the College of Health Professions (and beyond) were in the OLC all day shooting a series of interviews with a variety of healthcare professionals. They used the OLC teleprompter to stay on script, and relied on “Pawfessor Spirit” to maintain a serious-but-fun atmosphere.
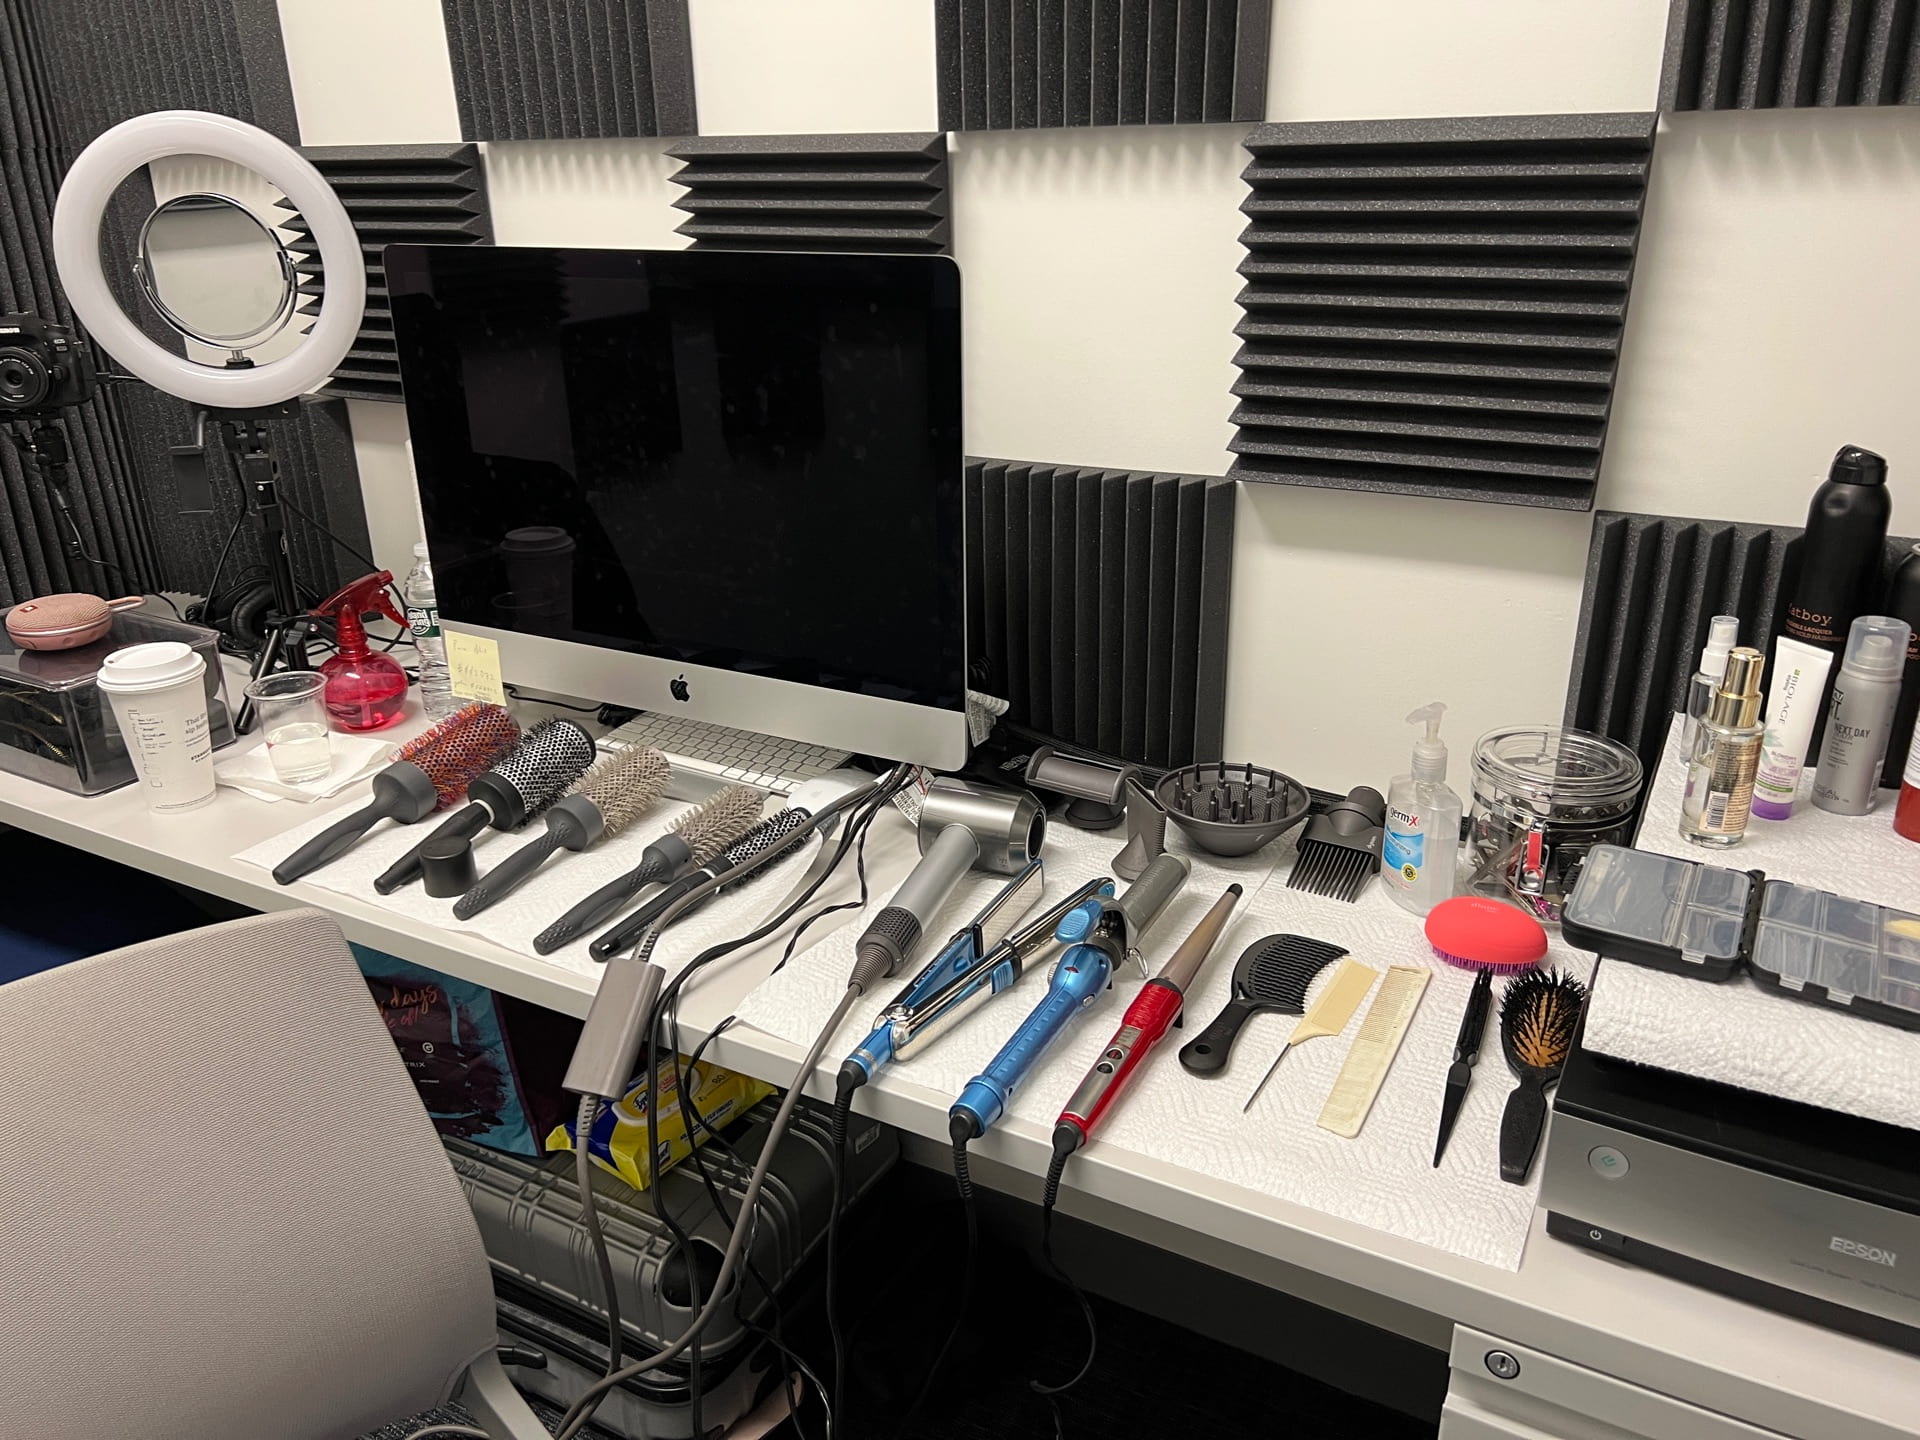
On the calm-yet-energetic College of Health Professions set.Editing Suite C became a make-up studio.Editing Suite D became a hair studio.
The OLC’s primary goal is to integrate multimedia learning effectively into Pace’s curriculum. With the ongoing COVD-19 pandemic, learning online has become a new normal. This blog post will detail the best ways to keep students attentive and engaged while attending classes online.
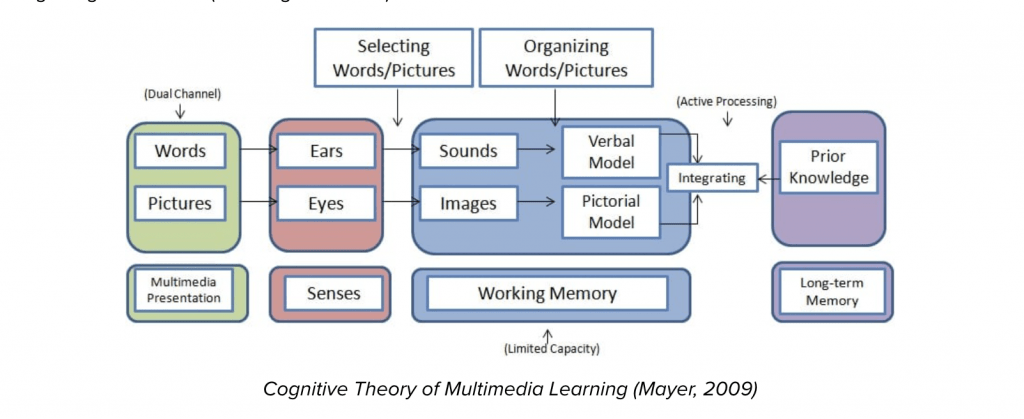
A 2003 study by Mayer, R. E., & Moreno R shows that humans learn more deeply from combining words and pictures than from words alone. Multimedia instruction is therefore defined as “presenting words and pictures that are intended to foster learning” (Mayer, 2009). The cognitive theory of multimedia learning makes three assumptions about how the mind works: there are two separate channels (auditory and visual) for processing information; channel capacity is minimal and can hold very little information for short periods; and that learning is an active process of filtering, selecting, organizing, and integrating information.
Multimedia content that doesn’t directly contribute to learning can overload and exceed the processing capacity of the cognitive system; this is known as cognitive overload (Sweller, 1988).
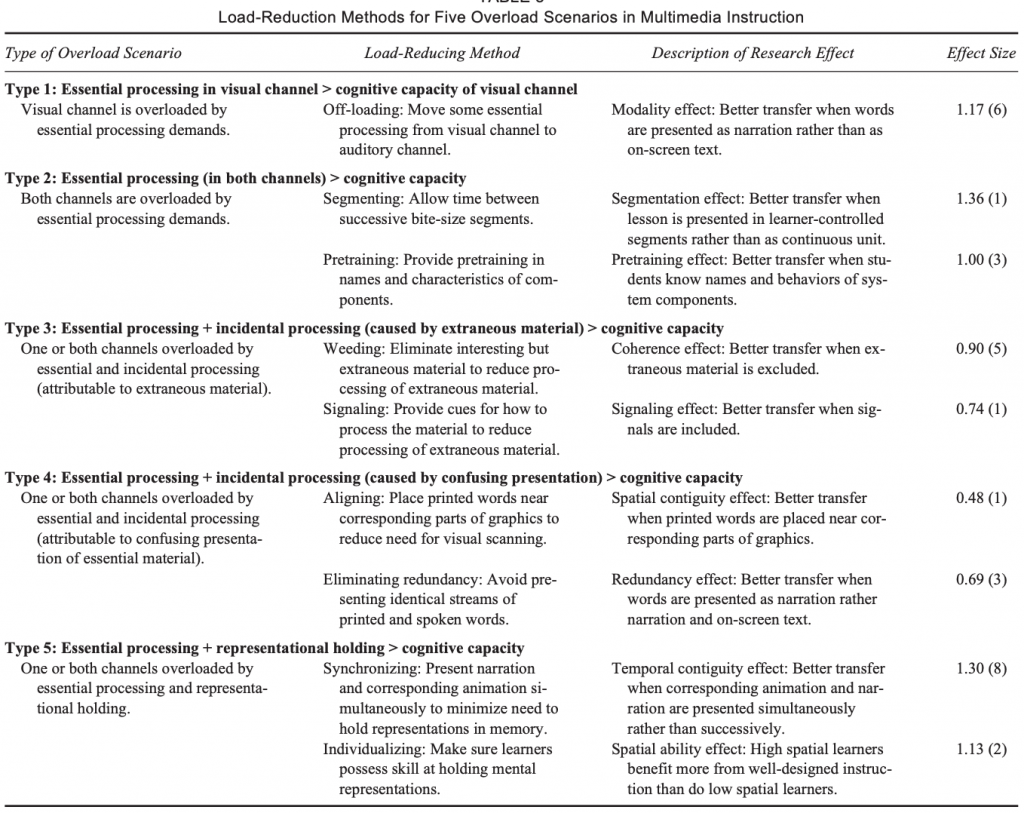
To support learning with video, you should be intentional about your design to reduce extraneous processing and manage the necessary processing of the material.
Listed below are methods that reduce the chances of cognitive overload in multimedia learning.
In conclusion, multimedia learning can significantly benefit students if done correctly.
Key takeaways: balance the two separate channels (auditory and visual) by using exciting graphics, music, and sharing helpful information.
Avoid overloading with unessential information that will lull students’ interest/ be easily forgotten.
OLC student assistants greet Pawfessor Spirit, assisting with video preproduction for Pace’s College of Health Professions.Drew and Lara working on developing graphics for Pace Online graduation livestreams.
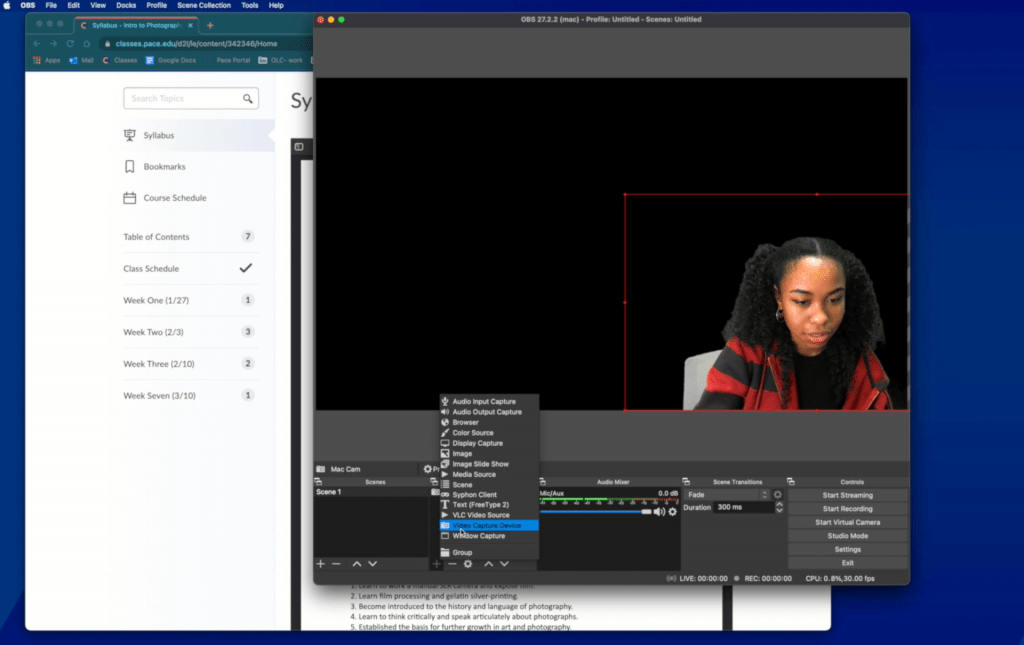
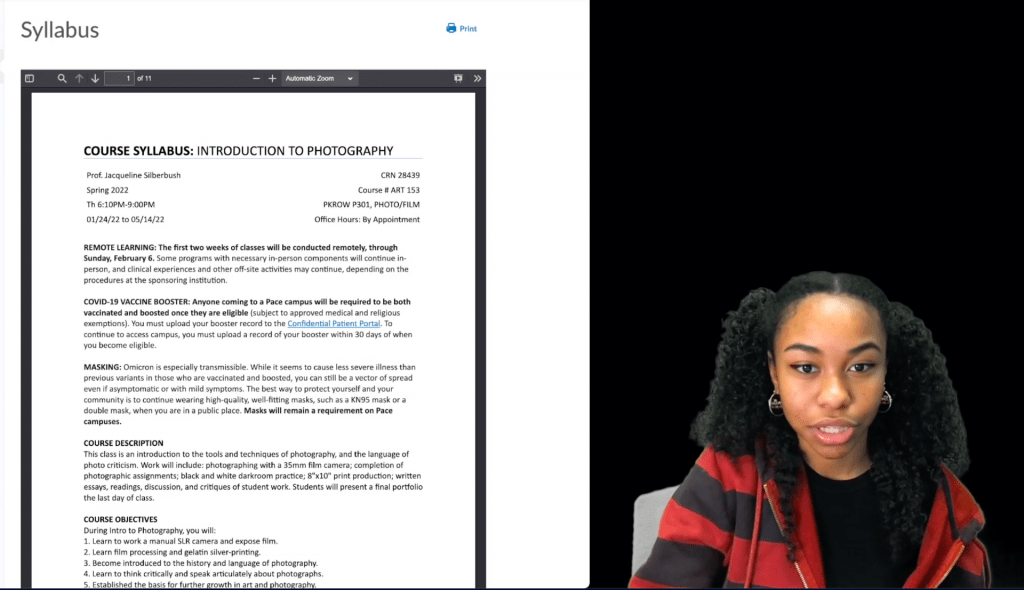
Curious about recording your screen while you talk? In this tutorial, OLC staff member Drew shows how to Screencast while using OBS:
For making live recordings of your online syllabus and materials, OBS is a fantastic tool that can help both teachers and students alike!
With OBS, you can record yourself speaking and click as you show your slides/ syllabus on screen. You can then upload that footage straight into Classes.
Here I am creating “scenes” in OBS.Here’s my recorded screencast.
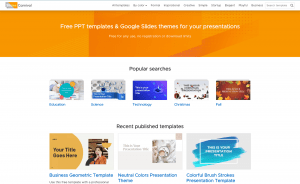
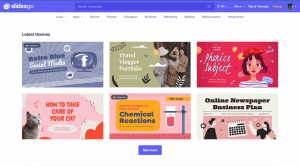
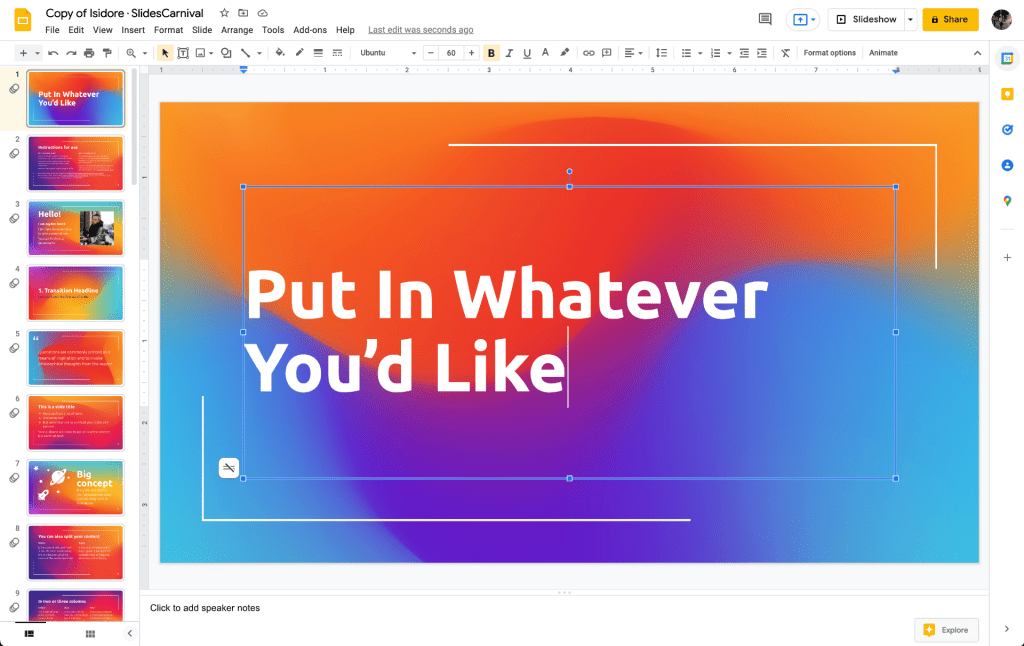
On websites such as SlidesCarnival and SlidesGo, you can create colorful and vibrant themes for your presentations.
These slides are compatible with Google Slides, Microsoft PowerPoint, and Canva (if you aren’t familiar with Canva we have a blog post about how it operates).
Each theme comes with fonts, images, graph templates, icons, and more.
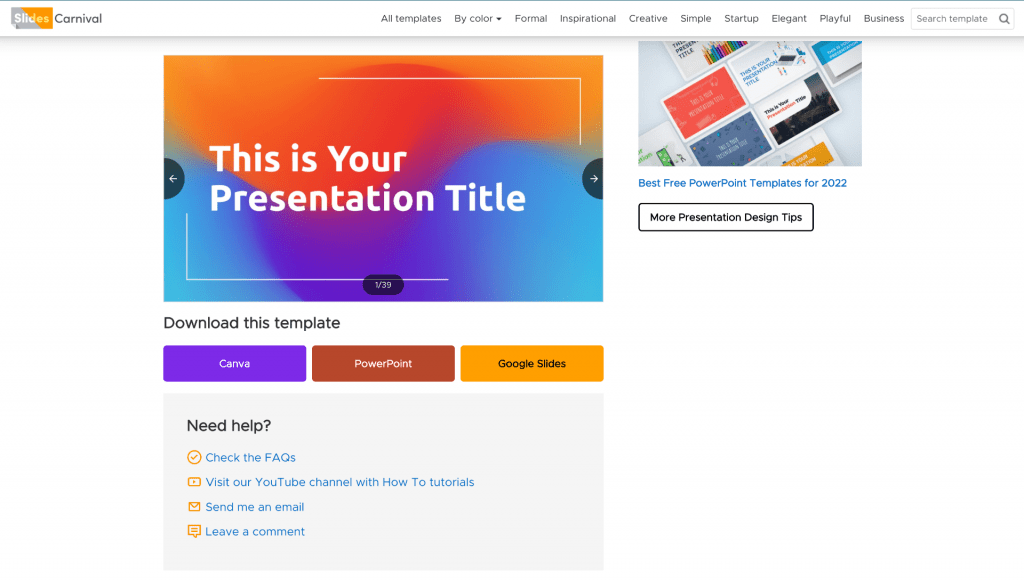
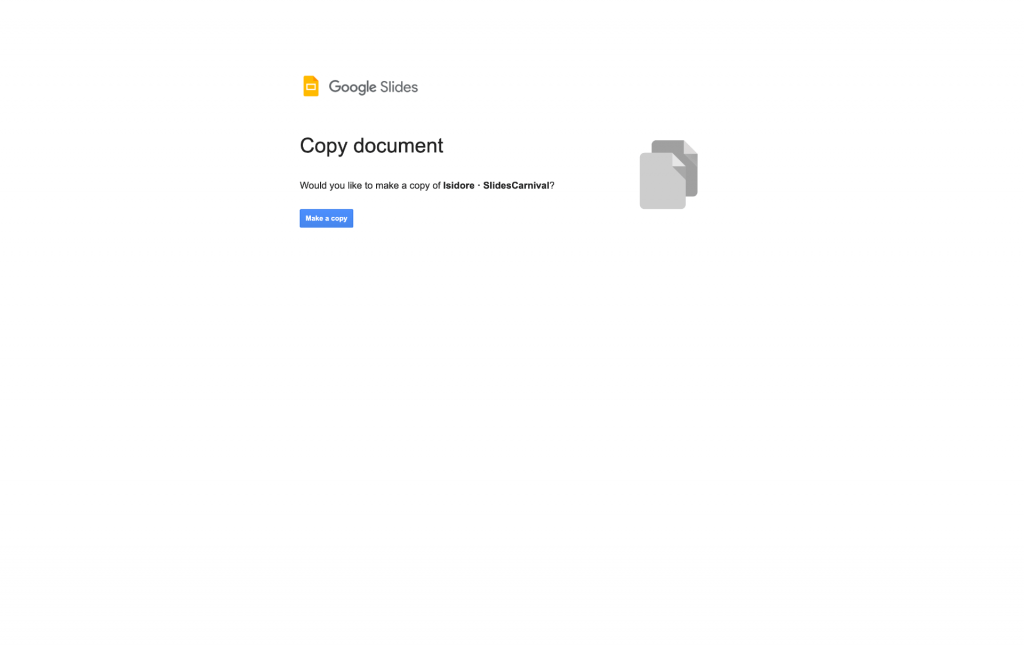
Here is how it looks once I have opened the theme above into Google Slides
First, you must make a copy of the document, and then you are free to edit however you please.
There are even have tutorials on how to use their software within different apps!
There are hundreds of free themes and additionally, there are subscriptions that give you access to more slides.
I had the good fortune of virtually attending SXSW EDU events this week, including sessions on lessons learned from pandemic education, the hybrid university, the science of learning, and accessibility & inclusion. All of these areas touch on the value and possibility of instructional multimedia.
The online “channel.”
The Live Stream
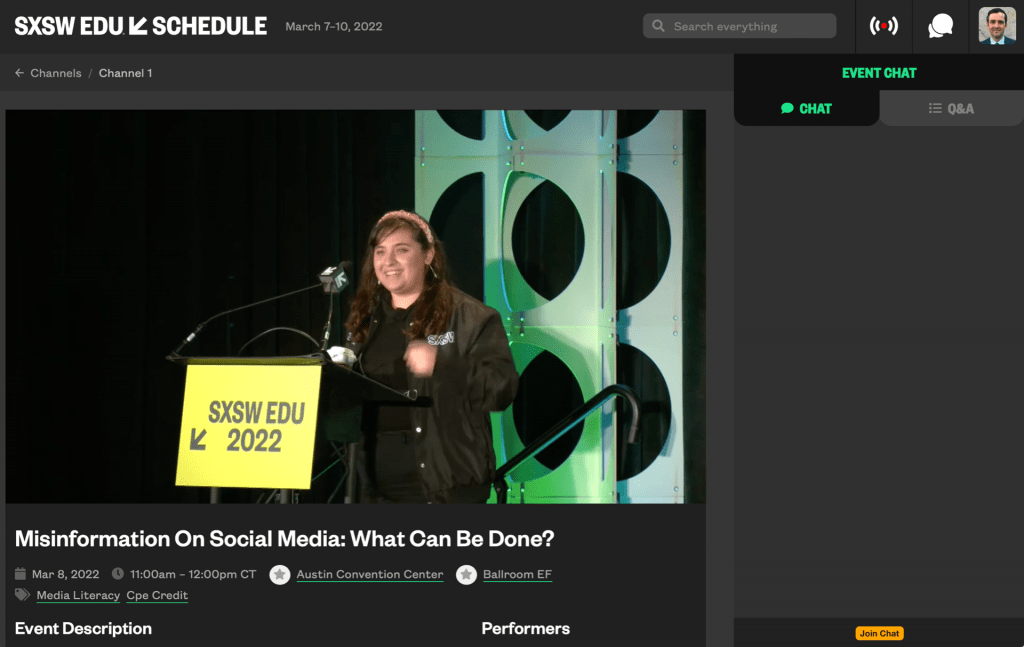
One of the more interesting aspects of attending the conference online was seeing how they used their website(s) to organize, broadcast, and network content. And in what ways they failed.
The image above shows the web-based “channel” view of the conference, and I understand they also published live video and VOD (“videos on demand”) to TV apps (e.g. Amazon Fire, Roku, Apple TV, etc).
Online, they dedicated space on the right for “Chat” and “Q&A,” although in the 6 live sessions I attended, there was not much interaction. In fact, it was mostly used as a space to bring technical issues to the attention of the event staff (and I am certainly guilty of this!), such as:
– Looping ads and schedule issues (running late?)
– No or low audio.
Despite there being ample SXSW website presence, there was no other “channel” for solving these problems. Other attendees reported no response form the virtual Helpdesk.
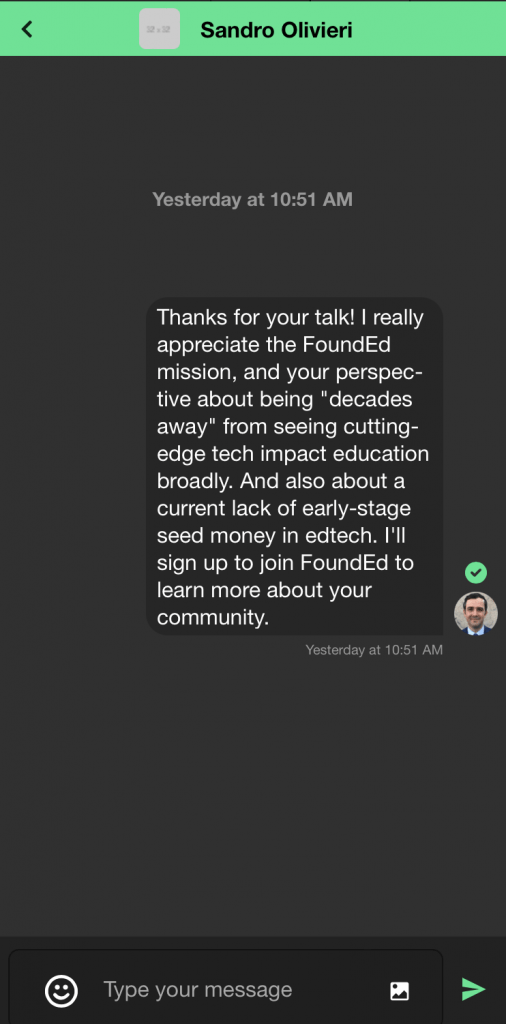
Virtual Networking
Crickets. A total dud. For most of the week, the “Social Networking” link on any event brought you to a centralized networking website with a searchable A-Z directory. The plug-in that tied this app into the video platform was evidently broken until the last day of the conference. But it’s hard to know if it was used. Here’s an effort I made to say hi to a presenter:
No response.
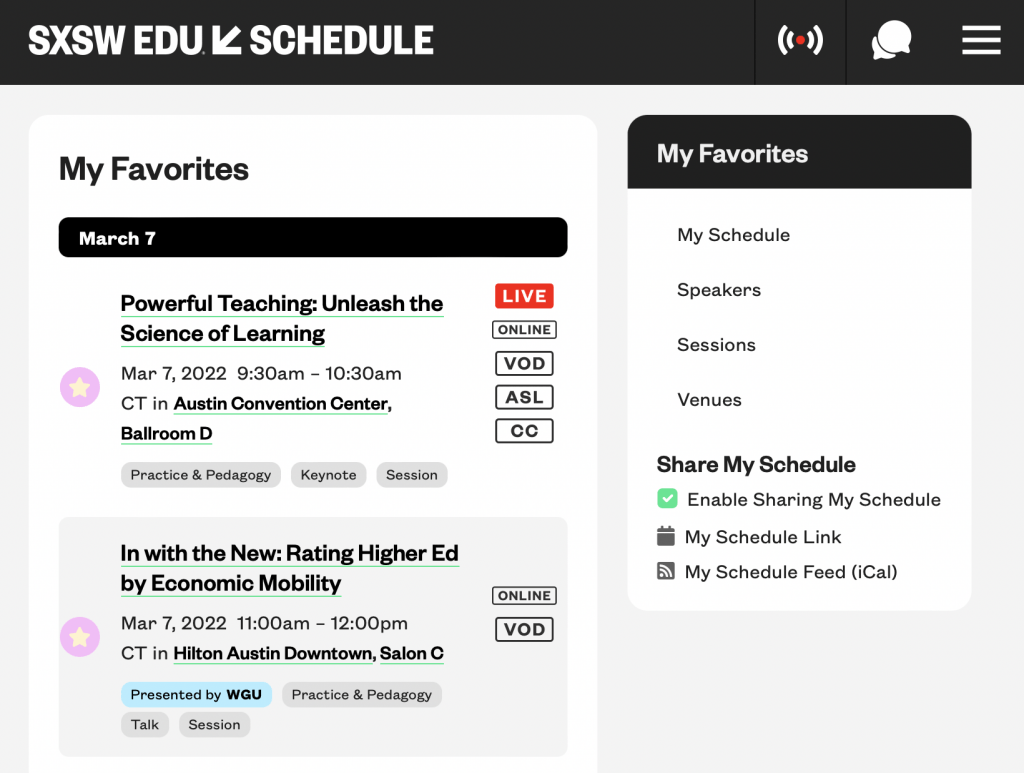
The Schedule
Overall I found the web experience confusing, with an unclear relationship between the pre-event website and the paid/login-only “SXSW EDU SCHEDULE” platform. However, the web-based tool to create my own conference schedule by “favoriting” sessions was helpful, as it became my go-to starting point each day.
Each event was coded (see below), but it was not always clear how or when a session would be accessible via video (or not):
“Live” events are live-streamed, and also available as video-on-demand (“VOD”).
I still am not sure what “online” means, because nothing about a session with only that code was online except the description. And it was not clear when “VOD” sessions would be made available, or for how long.
Final Thoughts
While claims of “moonshots” and “radical transformations” abounded, the main takeaway from many sessions was that the COVID-19 pandemic caused educators to use increasingly mixed modalities to support student learning outcomes, and that this was a good thing. As a recent meta-analysis shows, adding video elements to any kind of course can enhance learning outcomes.
At the OLC, I love to create new ads with fun graphics and texts using the graphic design software known as Canva. I learned about Canva back in January making social media digital promotional videos for the company Boosted, where I have an internship.
With Canva, I learned that you can make all different kinds of graphics, thumbnails, advertisements, instagram posts, and even presentations. Its variety of options range from making a corporate professional ad all the way to calm or silly videos. It’s even great for creating professional backgrounds for green screen users.
I was lucky to have access to the pro version, and I’ve used it to make advertisements for the OLC, videos for social media, as well as fun animated titles (and intertitle) cards.
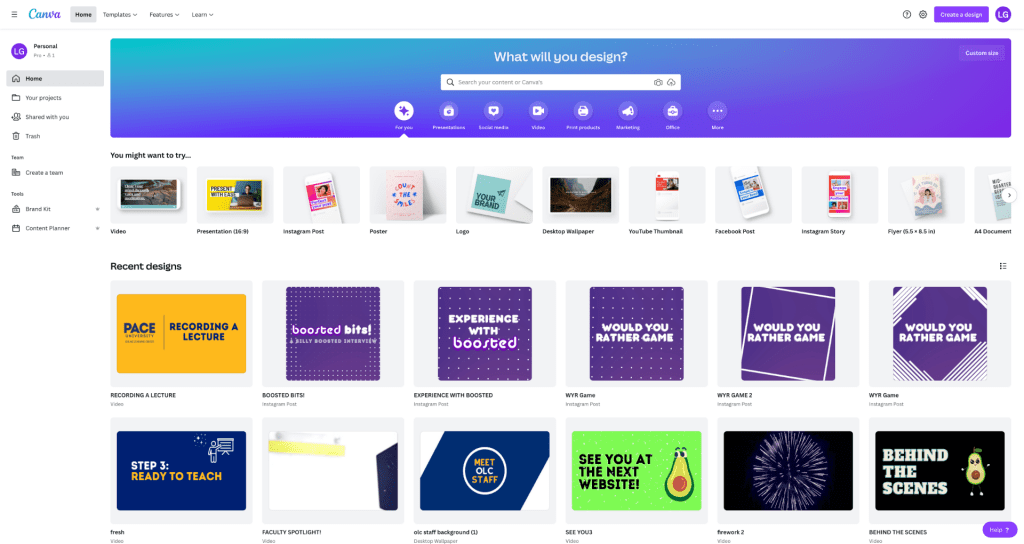
My Canva homepage!
Canva has the ability to let me pick and choose what kind of format I would like, whether it be an ad, a background, or an instagram post, and will let me adjust the size of it. Then:
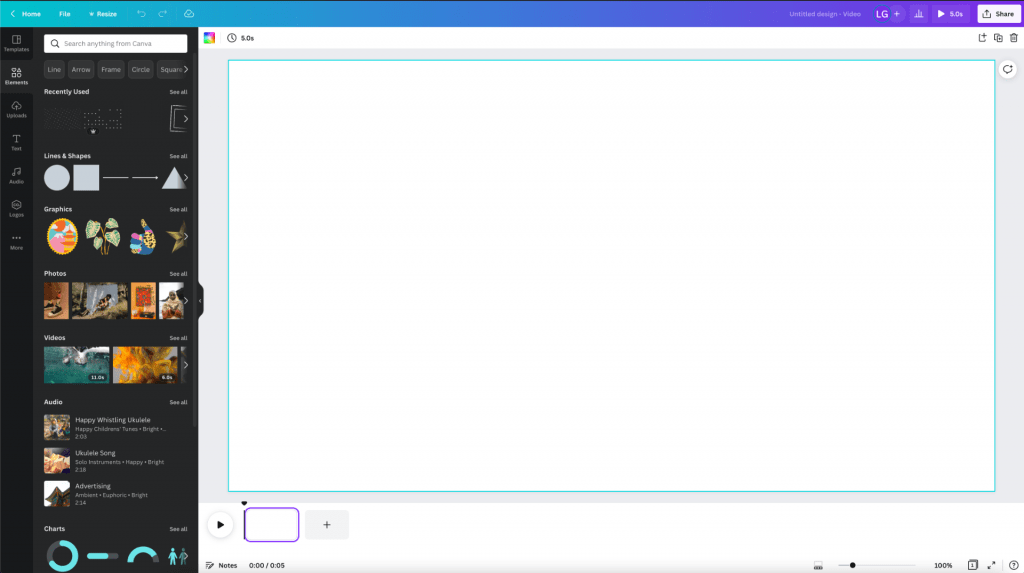
– Under the templates tab is where I search for a themed template, or I can create one on my own.
– Under the elements tab, I can pull fun animated or standstill graphics and can choose from a variety of graphic options.
– Under the Uploads tab, is where I can upload any media of my own that I would like to use such as images and videos.
– Under the audio tab is where I can upload any music of my choice and incorporate it into the video anywhere of my liking.
– Under the Logo tab, is where I can upload any company logos and add animations to them if I wanted.
A Canva canvas, with stock animations on the left.
If this software sounds helpful, I highly recommend it! You can try it for free, as Pace does not currently have a subscription. It has definitely come in handy for whenever I needed any easy way to create and animate animations, advertisements, and fun videos.
Pace Sophomore Lara Gedeon has come aboard the Online Learning Center team for the Spring 2022 semester. Get to know Lara in this video she produced with Open Broadcaster Software and Adobe Premiere on an iMac here in the OLC.
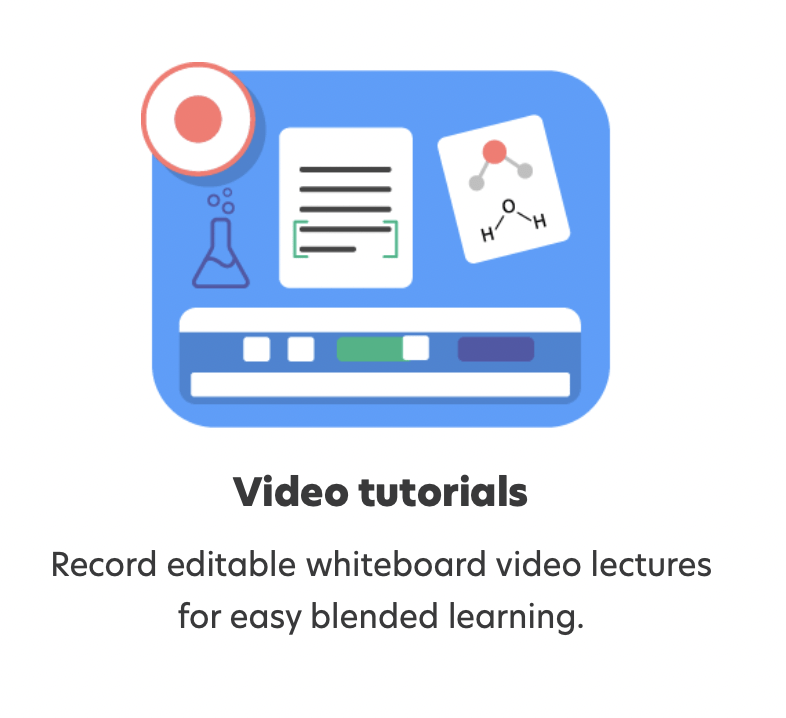
Explain Everything is a powerful (and subscription-based) application for creating multimedia video tutorials. Here’s an elevator pitch that caught my attention for our work here in the OLC:
A professor of mathematics at Pace brought her recent work with this app to my attention today. Over the past two years, she has recorded hundreds of “explainer” videos featuring math problems. Very cool!
Though it does not yet support adding live video to a workspace, it does record live audio, so you can talk while you work. Here’s what a blank canvas looks like:
When you see a canvas this blank, you know you have some production work ahead.
Once you’ve recorded a session, you can use the editing tools within the app to make changes. This is very handy, and a good opportunity to add details to your presentation. Here’s a quick overview by a co-founder of the company:
Visual elements like backgrounds and gifs can make recordings fun, and also help demarcate content sections for re-watching ease.
Here in the OLC, you can create similar content by using our Wacom One and Open Broadcaster Software.
Have ideas for creating media like this? Contact us to set up a consultation or book studio time!