In this video, Brian interviews Professor Steve Rolandi. Steve has been an adjunct professor at Pace for the past 15 years, and has a wealth of experience working in and around Public Administration.
Interviews are a great way to introduce students to new content and people. With a little preparation and a little postproduction, a basic interview can cover a lot of intellectual ground in a short amount of time. And, as my experience with Steve demonstrates, they are fun to make.
A few notes on this video:
• It is black and white because I liked the “old schoolhouse” background I found to use for the green screen plate (it was black and white).
• Speaking of green screen plates: it’s helpful to choose your background before you shoot. Multiple camera angles and lighting effects add to the complexity here.
• Discerning viewers might notice that our eye-lines are slightly off. This is a result of moving Brian and Steve closer together in post. We were over six feet apart when we shot this interview due to COVID restrictions. This change was possible due to using a green screen.
• I regret that my mic cable is visible and Steve’s shirt collar is bunched up. It’s hard to shoot an interview with no production staff! Our great OLC student staff members were on a summer break.
Thanks for participating in this interview, Steve!
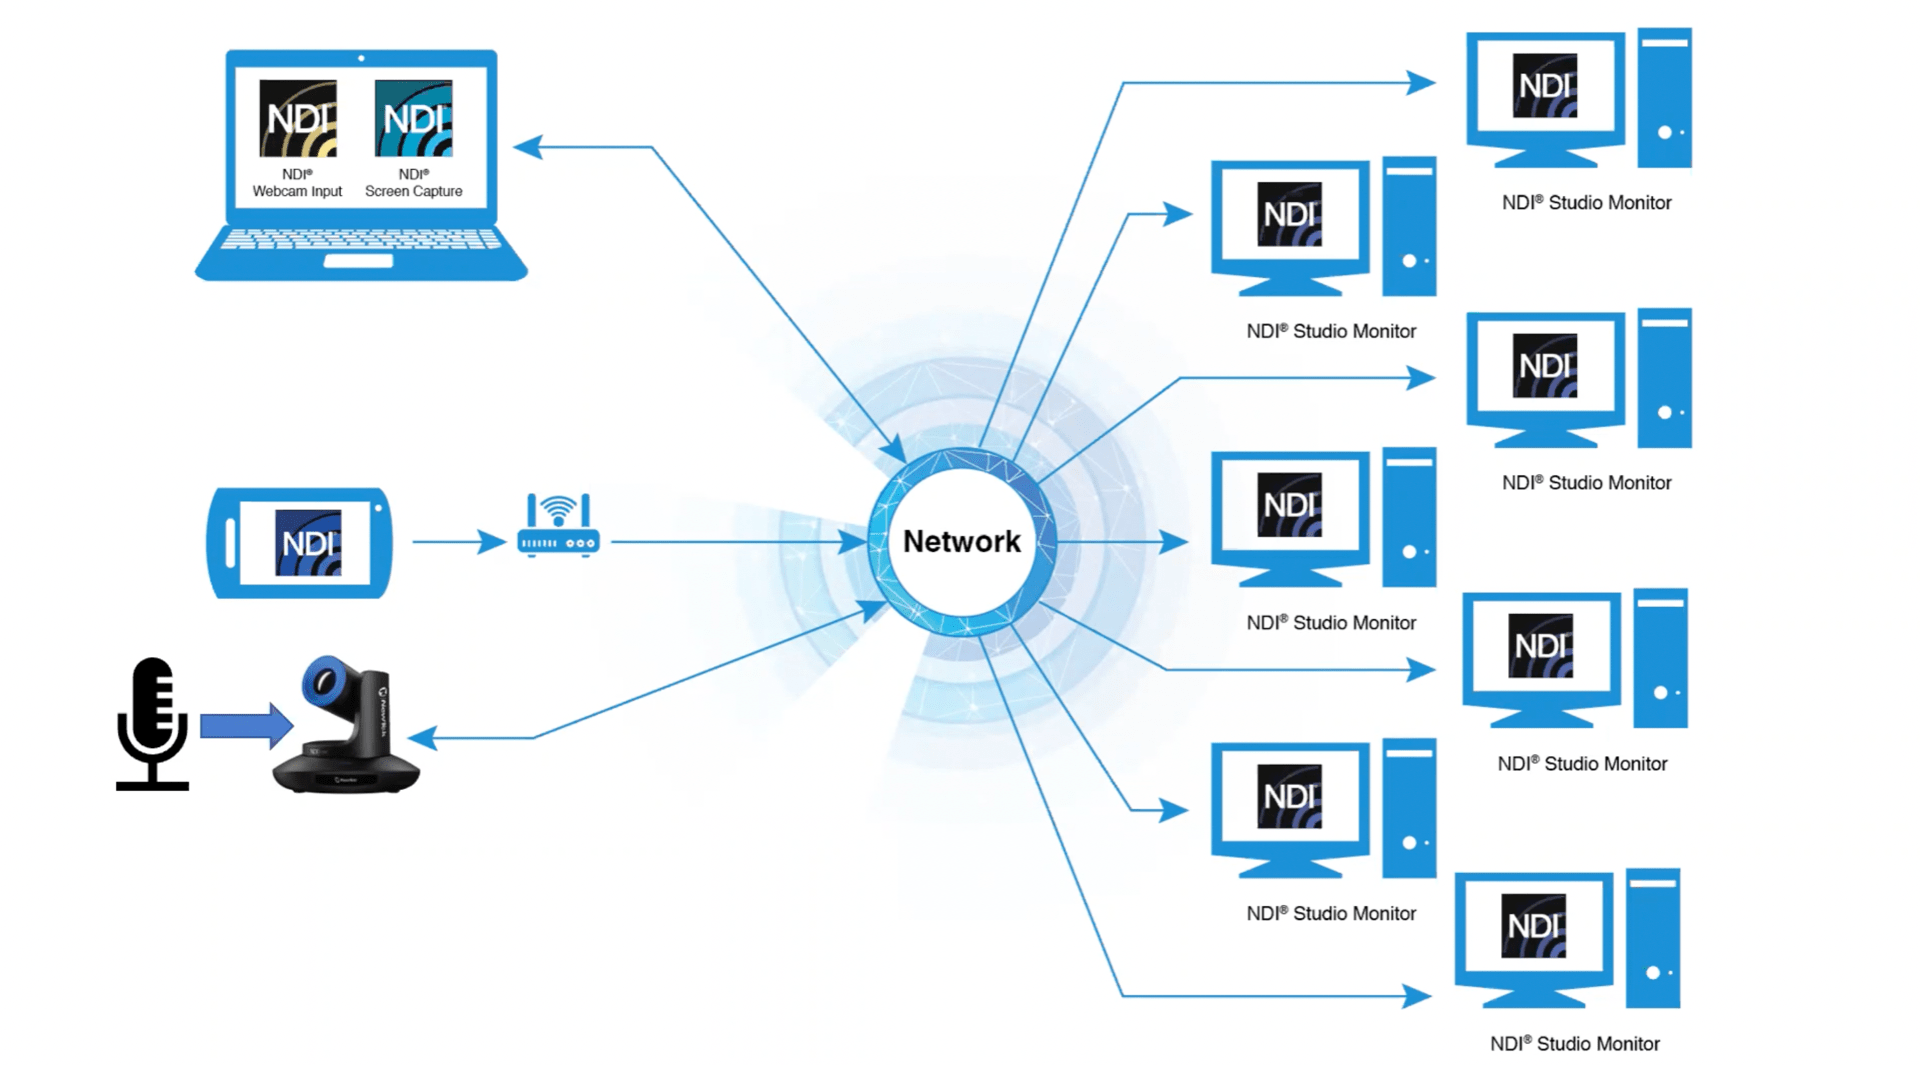
How can Pace create professional video of diverse teaching, learning, and research activities for students on both campuses and online? One strategy could be developing our tools for remote production.
This diagram shows a basic overview of how we can use the tools we already have (laptops, phones, and PTZ cameras) to streamline on-demand broadcasting. 4K cameras can broadcast high-quality (and well-positioned) images while personal laptops and phones broadcast presentations. A remote operator can “live produce” the materials, or the outputs can be automated for regular events.
I recently attended NewTek’s “Enrich Flex/Hybrid Learning” event on emerging broadcasting possibilities powered by AV-over-IP technology. The event covered the following:
Learn how the IP-based lecture capture and micro-broadcasting services connect any room on campus or any meeting room in the business to anywhere in the world. Easy to implement and fully autonomous, CaptureCast a ground-breaking multi-input, multi-room recording and live streaming technology drives active participation, engagement, and experience for remote and hybrid learning.
We currently use NewTek’s TriCaster system in the OLC for capturing, recording, and broadcasting events to Zoom. But NewTek offers other equipment and software (e.g., CaptureCast) that can go further, and help us expand video services to the Pleasantville campus (and beyond!) in interesting ways.
A highlight of the session for me was reflecting on ways that “networked video production” (NVP… my coinage?) is different from other software-driven solutions. Zoom, for example, is organized around the idea of the host running the show. An NVP environment allows much more flexibility for live production with multiple streams.
The end result can be a single stream of content or multiple resources (e.g., different camera views, audio tracks, etc.). NVP can be made incredibly efficient or very sophisticated, and inspires me to think about different ways to package course content for different audiences.
What kind of materials could we create if we had multi-camera set-ups in Pace classrooms? How can a video-driven asynchronous experience be different than the live one?
So, you’re making an instructional video, and you want to make it more visually interesting. A great way to add information and visual appeal to your video starts with using a green screen. In this post, I walk through a couple different ways to think about using one.
Creating Compositions
A great way to approach any instructional video is by thinking about the ways a student may watch and re-watch a video. How big will their screen be? Will they be on a laptop or a phone? Will they be willing to spend 20 straight minutes watching your video, or will they watch it 5 minutes at a time?
Like a traditional movie or show, instructional video should be clear and compelling. Even with lower production values (e.g., fewer explosions, chase scenes, or comedic mishaps), a lecture can be exciting when delivered with enthusiasm. But no amount of enthusiasm will help if the details are confusing.
Consider the design elements that impact your communication, and create a visual composition that orients your audience to your message.
Pace Professor David Dorfman discusses the work of paralegals. In this video, the composition includes a simple (blue) background, the Pace logo, presentation slides, and the speaker.
Take-aways:
• Branding and titling your content reinforces the purpose and intention of a student’s learning goals. While it may seem boring, it does more work than you think!
• Presentation slides should be clear. If you are putting content on your slide, take time to address it. If your slides are wordy, unpack them.
• Page numbers are less important for videos, as you may refer to video timecode later on. But if you want students to refer back to the presentation, – especially if it’s longer than 5 minutes – use page numbers.
Once you’ve established this “master” composition, you can certainly switch to other “scenes” (e.g., presentation-only, speaker-only, or related media). But while editing with cuts can help hold a viewer’s attention, it can be disorienting. I suggest using cuts much more judiciously with instructional video, if at all.
No cuts!? Just one long video?? While it seems counterintuitive to what we often hear about video (i.e, “make it shorter” “no one watches onion video for very long”), students have many tools to watch a long video in a way that works for them. For example, some students may change the playback speed to better match their needs, or have turned on closed captioning. Other students might watch your video a few minutes at a time, and bookmark points to come back to later. These software-driven playback options mean that a simple, great composition can be the best creative option.
Plates and Lighting Effects
Another approach to using a green screen is by using a meaningful background. While one-color backgrounds are easy, they can also be unmemorable. What background sets the scene for your topic? What background would be more memorable or meaningful to your students?
This approach takes a little more planning. Creating a background for a “keyed” shot (i.e., a shot with the green screen successfully removed with software) offers a lot of creative flexibility. In addition to a high-quality image, you want to create a background that works well for your composition. But pay attention to your lighting! Importantly, you will need to light the speaker in the studio in a way that approximates the look of the plate (in this context, the background image is called a “plate”).
Pace Professor Sophie Kaufman created a series of videos on mindfulness. While it was more convenient to shoot her script in the OLC studio, she wanted the video to look like it was shot in her home studio. She used her iPhone to take multiple photographs of her space with different lighting, and OLC staff selected and manipulated an image to create this plate.
Proper lighting in the studio will give you the image you need to composite your plate with your speaker video in postproduction. While it requires some tweaking (and attention to detail), the process is fairly easy to learn and execute.
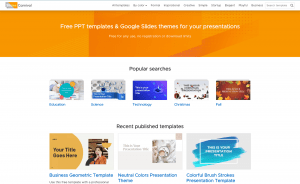
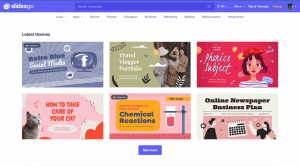
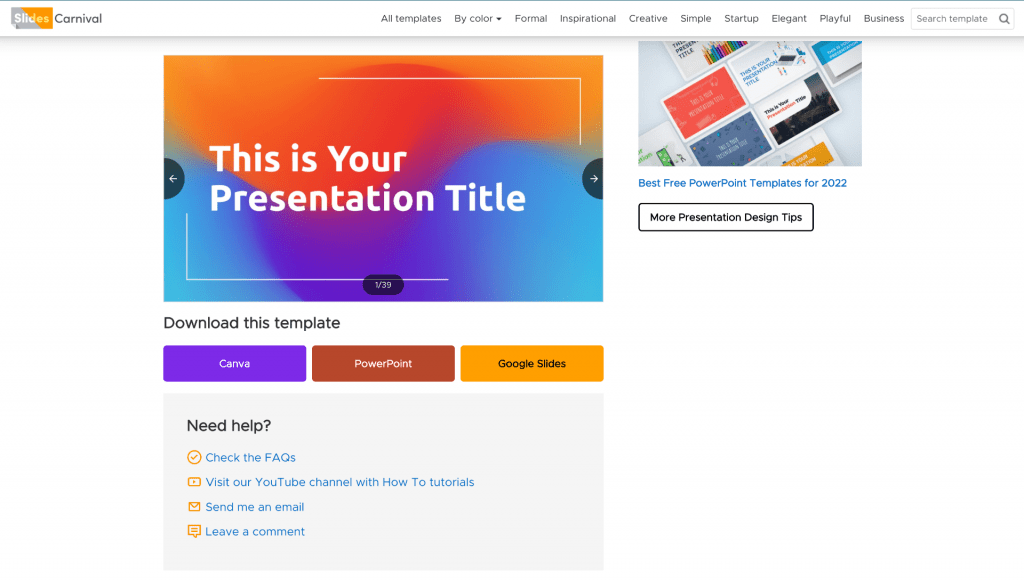
On websites such as SlidesCarnival and SlidesGo, you can create colorful and vibrant themes for your presentations.
These slides are compatible with Google Slides, Microsoft PowerPoint, and Canva (if you aren’t familiar with Canva we have a blog post about how it operates).
Each theme comes with fonts, images, graph templates, icons, and more.
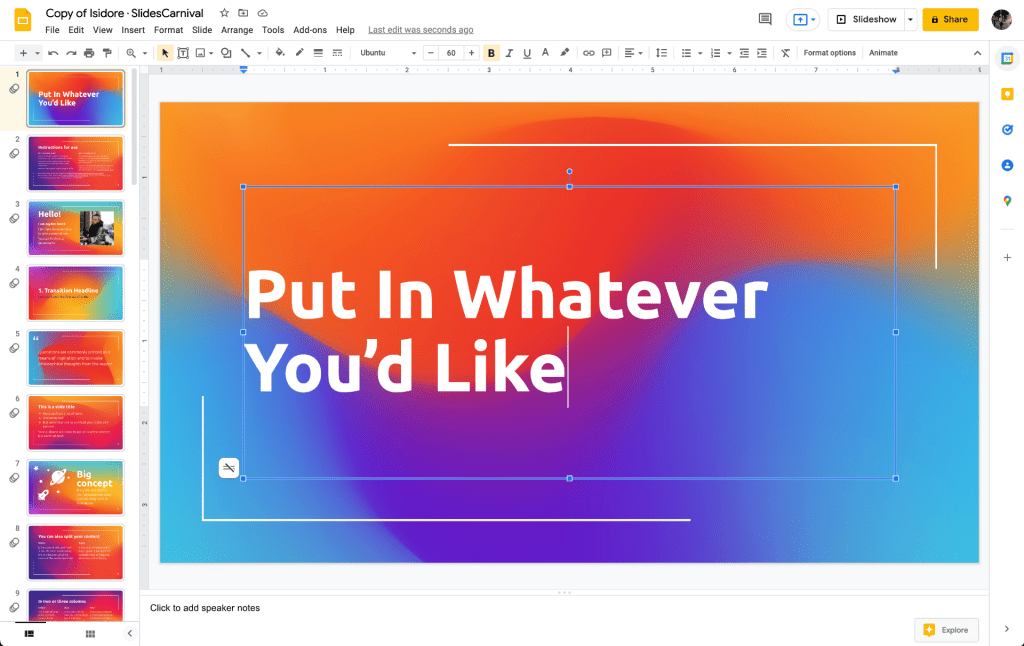
Here is how it looks once I have opened the theme above into Google Slides
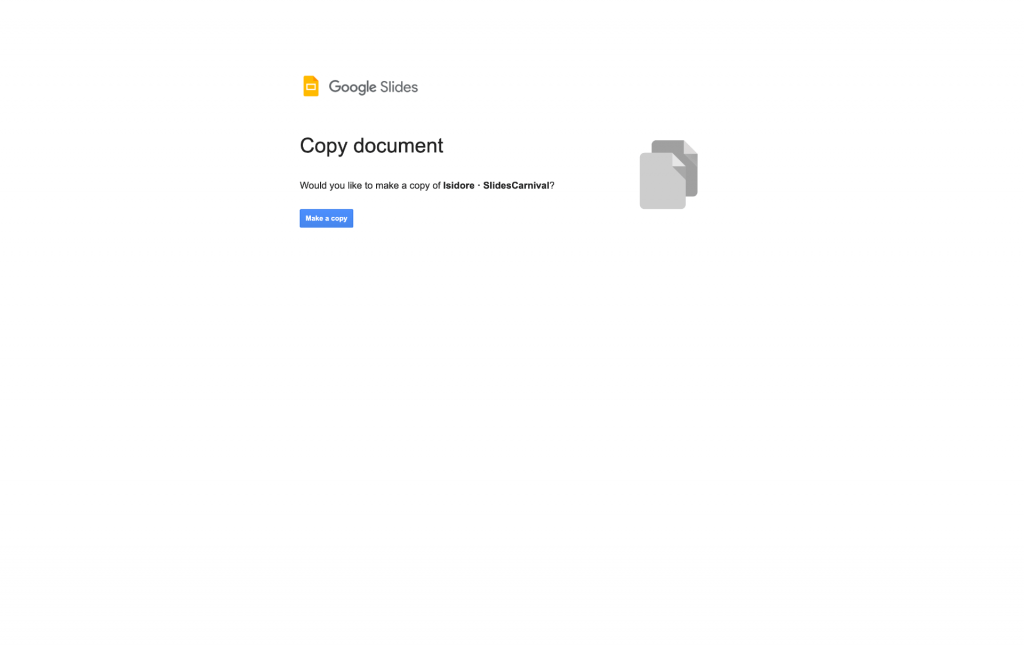
First, you must make a copy of the document, and then you are free to edit however you please.
There are even have tutorials on how to use their software within different apps!
There are hundreds of free themes and additionally, there are subscriptions that give you access to more slides.
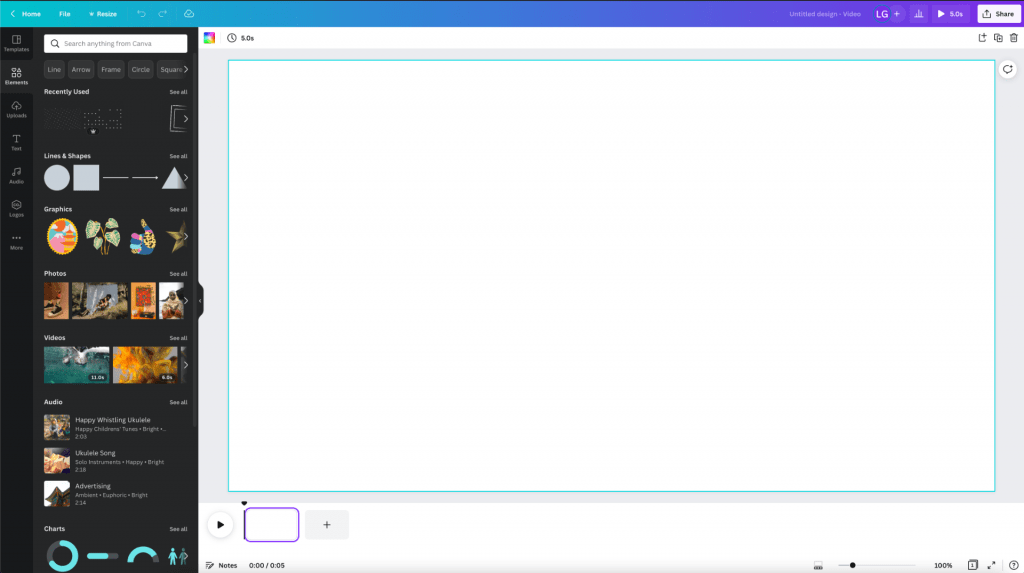
At the OLC, I love to create new ads with fun graphics and texts using the graphic design software known as Canva. I learned about Canva back in January making social media digital promotional videos for the company Boosted, where I have an internship.
With Canva, I learned that you can make all different kinds of graphics, thumbnails, advertisements, instagram posts, and even presentations. Its variety of options range from making a corporate professional ad all the way to calm or silly videos. It’s even great for creating professional backgrounds for green screen users.
I was lucky to have access to the pro version, and I’ve used it to make advertisements for the OLC, videos for social media, as well as fun animated titles (and intertitle) cards.
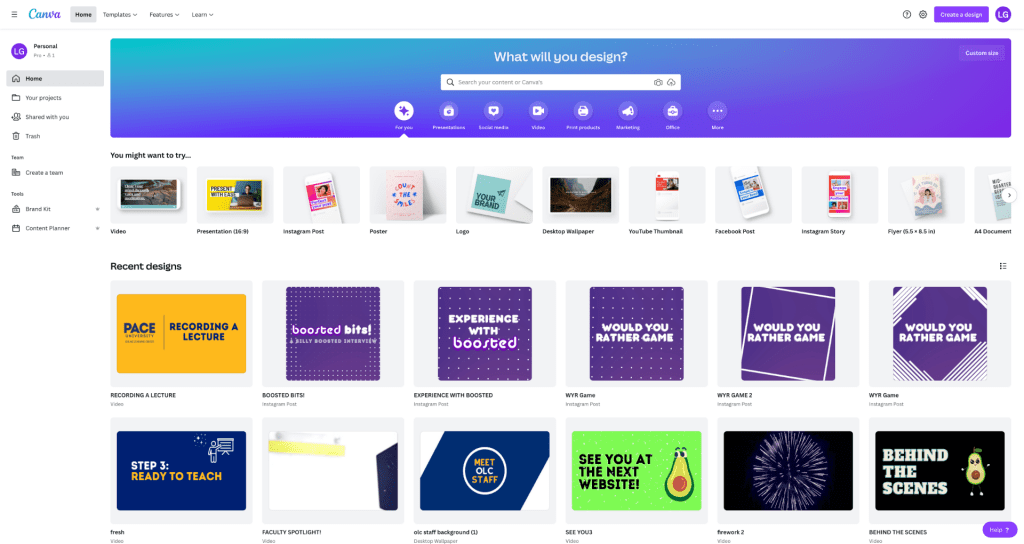
My Canva homepage!
Canva has the ability to let me pick and choose what kind of format I would like, whether it be an ad, a background, or an instagram post, and will let me adjust the size of it. Then:
– Under the templates tab is where I search for a themed template, or I can create one on my own.
– Under the elements tab, I can pull fun animated or standstill graphics and can choose from a variety of graphic options.
– Under the Uploads tab, is where I can upload any media of my own that I would like to use such as images and videos.
– Under the audio tab is where I can upload any music of my choice and incorporate it into the video anywhere of my liking.
– Under the Logo tab, is where I can upload any company logos and add animations to them if I wanted.
A Canva canvas, with stock animations on the left.
If this software sounds helpful, I highly recommend it! You can try it for free, as Pace does not currently have a subscription. It has definitely come in handy for whenever I needed any easy way to create and animate animations, advertisements, and fun videos.
Explain Everything is a powerful (and subscription-based) application for creating multimedia video tutorials. Here’s an elevator pitch that caught my attention for our work here in the OLC:
A professor of mathematics at Pace brought her recent work with this app to my attention today. Over the past two years, she has recorded hundreds of “explainer” videos featuring math problems. Very cool!
Though it does not yet support adding live video to a workspace, it does record live audio, so you can talk while you work. Here’s what a blank canvas looks like:
When you see a canvas this blank, you know you have some production work ahead.
Once you’ve recorded a session, you can use the editing tools within the app to make changes. This is very handy, and a good opportunity to add details to your presentation. Here’s a quick overview by a co-founder of the company:
Visual elements like backgrounds and gifs can make recordings fun, and also help demarcate content sections for re-watching ease.
Here in the OLC, you can create similar content by using our Wacom One and Open Broadcaster Software.
Have ideas for creating media like this? Contact us to set up a consultation or book studio time!
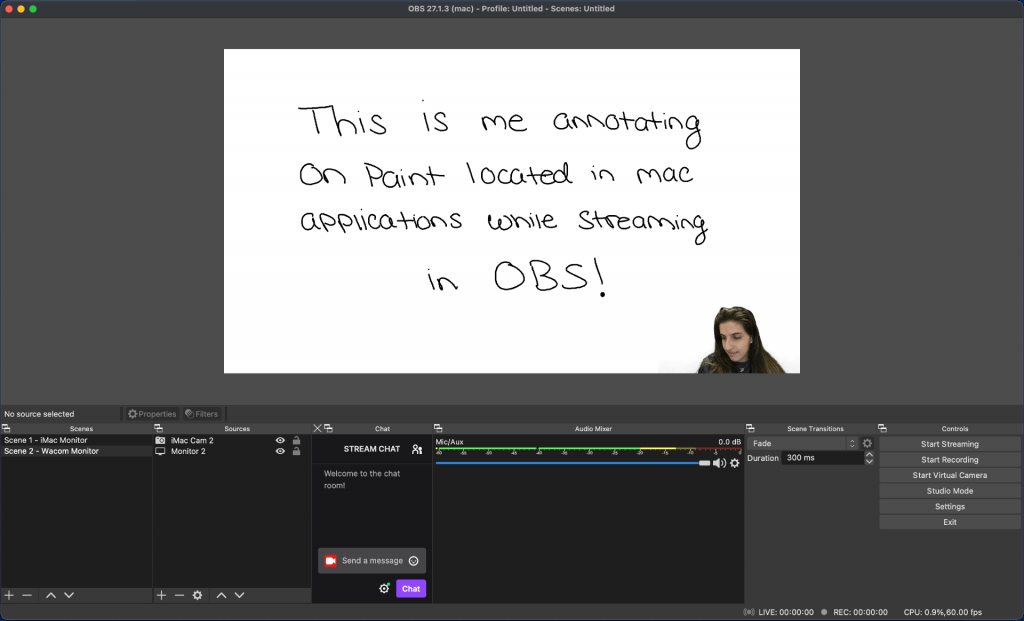
Do you ever want to write, draw, or annotate text on screen during a live recording? The OLC has a Wacom One Pen Tablet that can allow you to record your drawings and annotations clearly for students to see. The image below is an example of recording in OBS while using the green screen, using the Wacom tablet to write in a painting app.
Screenshot from annotation video
To record the Wacom, the OBS is set up as in the screenshot below. Make sure you have your green screen setup and your Chroma Key and Color correction Key already setup. Also, it is important to have the paint app open and displaying on the Wacom monitor before you record (or broadcast) it. Proceed to add in your Display Capture effect and select the Wacom Monitor. Once this is activated, layer your iMac Cam 2 and Monitor 2 accordingly, and you will have successfully setup to stream and annotate in OBS!
SS of OBS setup
The Wacom Tablet is a mini iPad-like device normally used for drawing/graphic design purposes on softwares such as Paint and Photoshop. Below is an example of a professor using the Wacom Tablet to write and show examples of math problems while streaming it to his students, making it easier and clear for them to see.
The Online Learning Center is currently collaborating on a project that hops on the trend “A Day in The Life of a College Student” where the subject, aka the student, showcases what a typical day looks like in their college life. This post features two examples of what these videos often look and sound like.
In day-in-the-life videos, students usually walk through the process of their morning routine in their dorm room, getting food, going to class, their activities between classes, and finish off with their night time routine. In our case it will be “A Day in The Life as a Virtual College Student.” The plan is to shoot a 2-3 minute video showcasing what a student’s life looks like taking online courses and how it affects their routine. After shooting the clips needed for this video, the plan is to cut and edit using quick jump cuts, just like the Tik-Tok trend, for comedic effects along with keeping the audience engaged. The goal for the video is to be realistic, fun, engaging, and most importantly, informative.
The video below is filled with aesthetically creative shots, lots of movement, smooth angles and transitions, and most importantly, the subject focuses on action content rather than talking to the camera for three minutes straight. This video also includes nice background music to keep the consistency going. The only thing missing is quick jump cuts, but this video is a longer-format vlog rather than a TikTok video.
This video below is fast-paced and the way it is edited along with the dialogue and effects definitely keeps the viewer engaged. It has a lot of comedic effects throughout such as the colorful collage of clips when transitioning, the voiceovers used when doing a specific activity, and the pacing of it. This video does feature some TikTok-style jump cuts, and for a YouTube video it definitely has quick pacing and stays consistent throughout the whole video. The sound effects and music were also a big plus in this video.
For presentations that require several “scenes,” OBS is a great (and free!) solution. For example, with OBS, you can transition between yourself speaking, your slide presentation, and showing your desktop. Curious if this is right for you? In this 12-minute tutorial, OLC staff member Lara shows how to set up and use OBS make engaging presentations.
For a more simple approach with only one scene (you presenting your slides), see Lara’s tutorial on using Zoom.